Botbuilt Projects
Various projects that showcase my mechanical design, fabrication, and assembly skills. I did alot more at Botbuilt but unfortunately I cannot post information or pictures/videos about it. The work that I can talk about is included on my resume which can be downloaded under the "Contact" section listed above.
Second Factory Build
This was the project I spent the majority of my time on during this co-op. At one point, I was working 70h weeks for a month in attempt to complete this project by the extremely ambitious deadline. Here are some of the progression pictures that I was able to capture along the way. There was so much behind the scenes that I did not including the 500+ 3d printed parts, 100 sheet metal parts, and thousands of dollars worth of mcmaster carr orders that I was responsible for, but here are some major pictures.
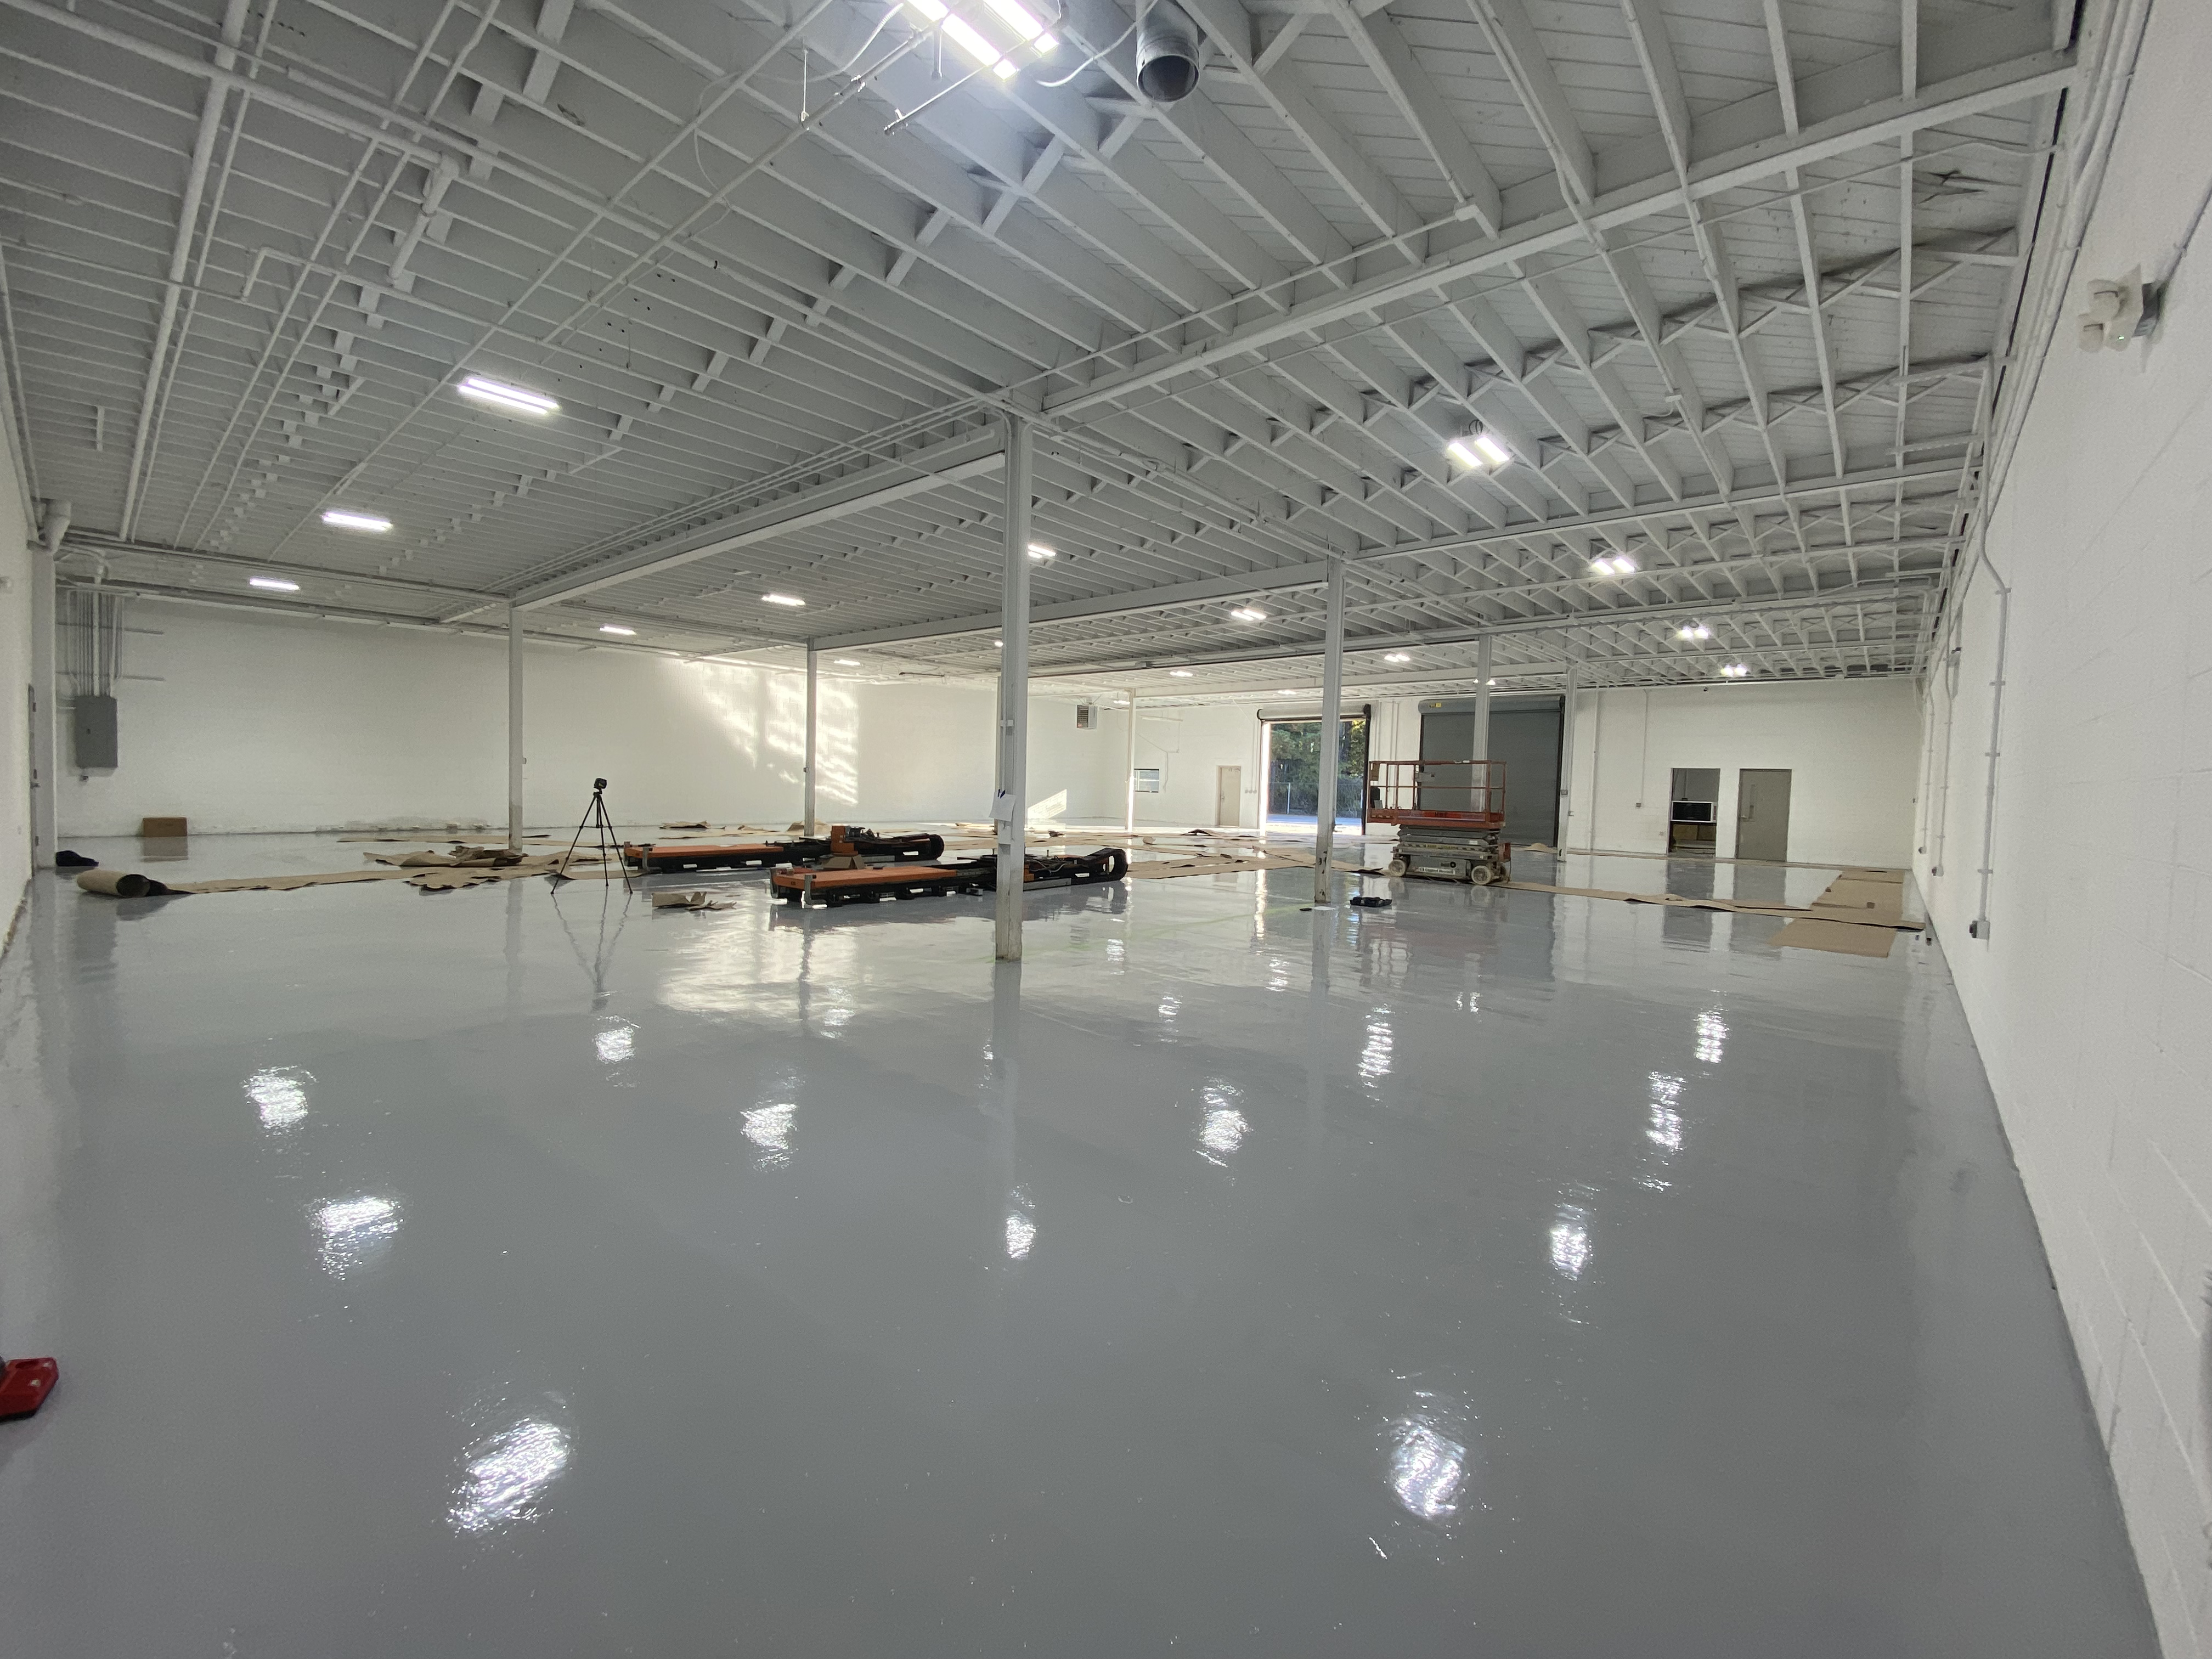
Factory with Only RTU's Installed
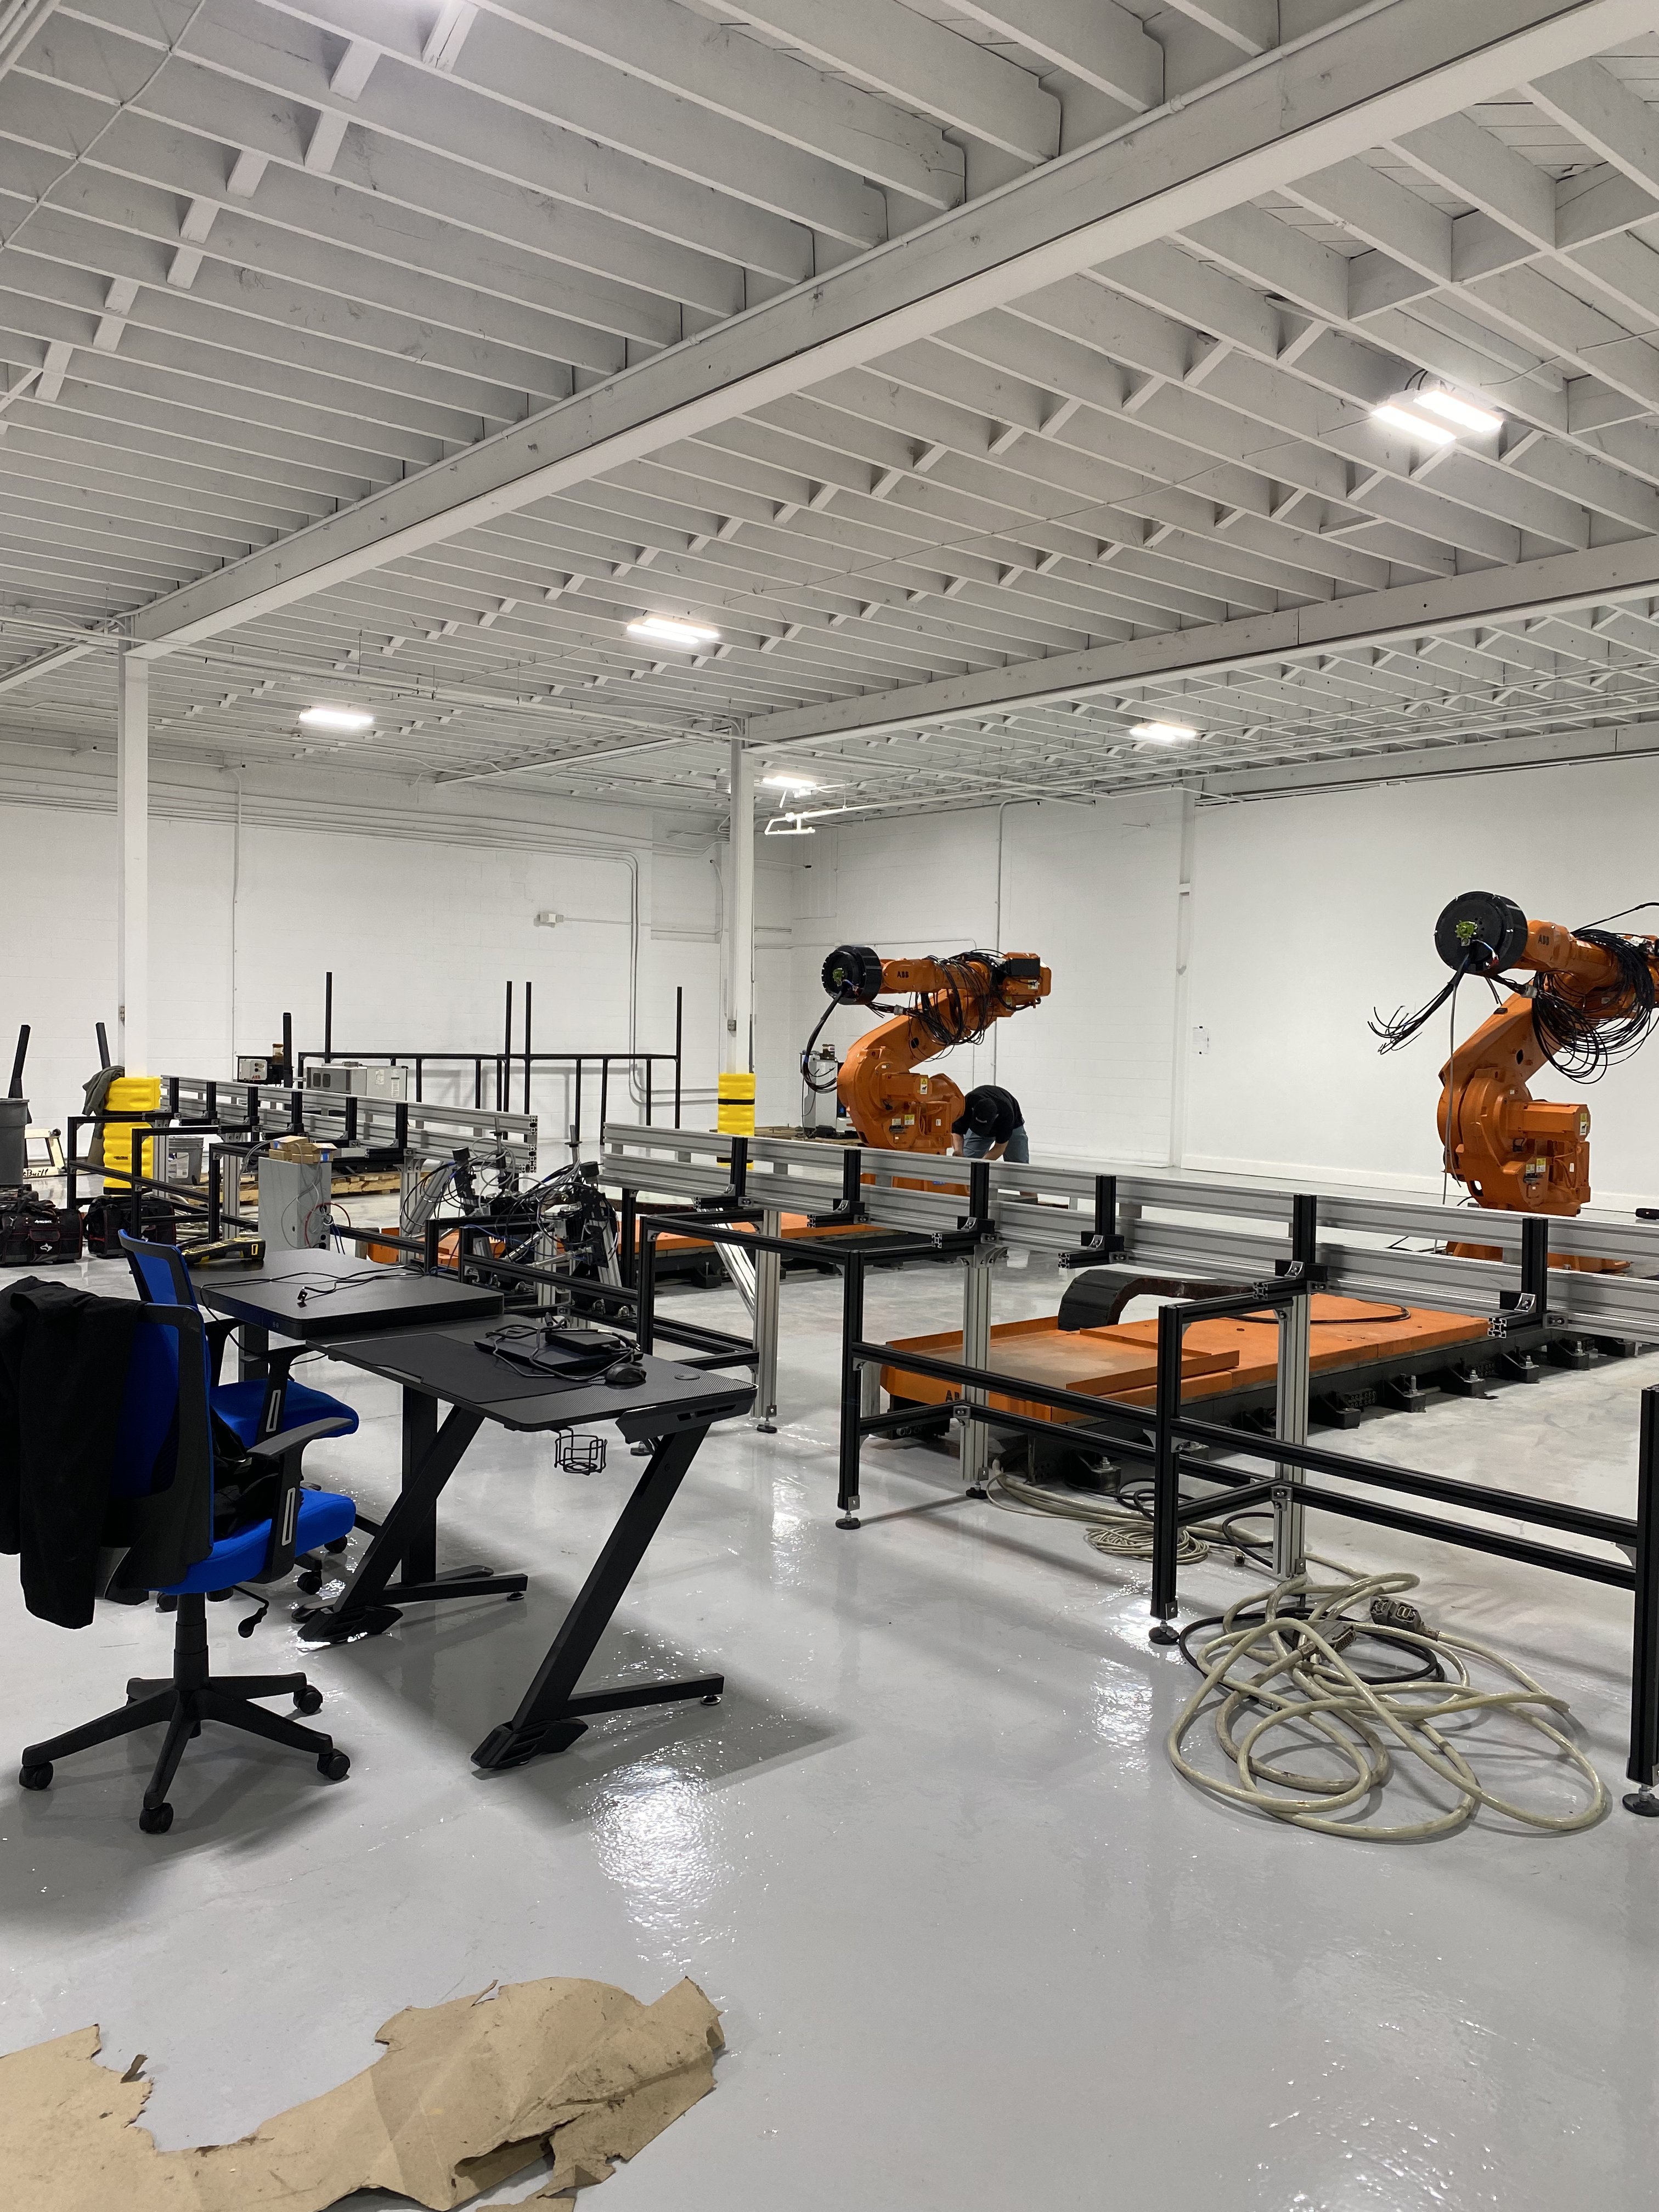
Factory Building in Progress
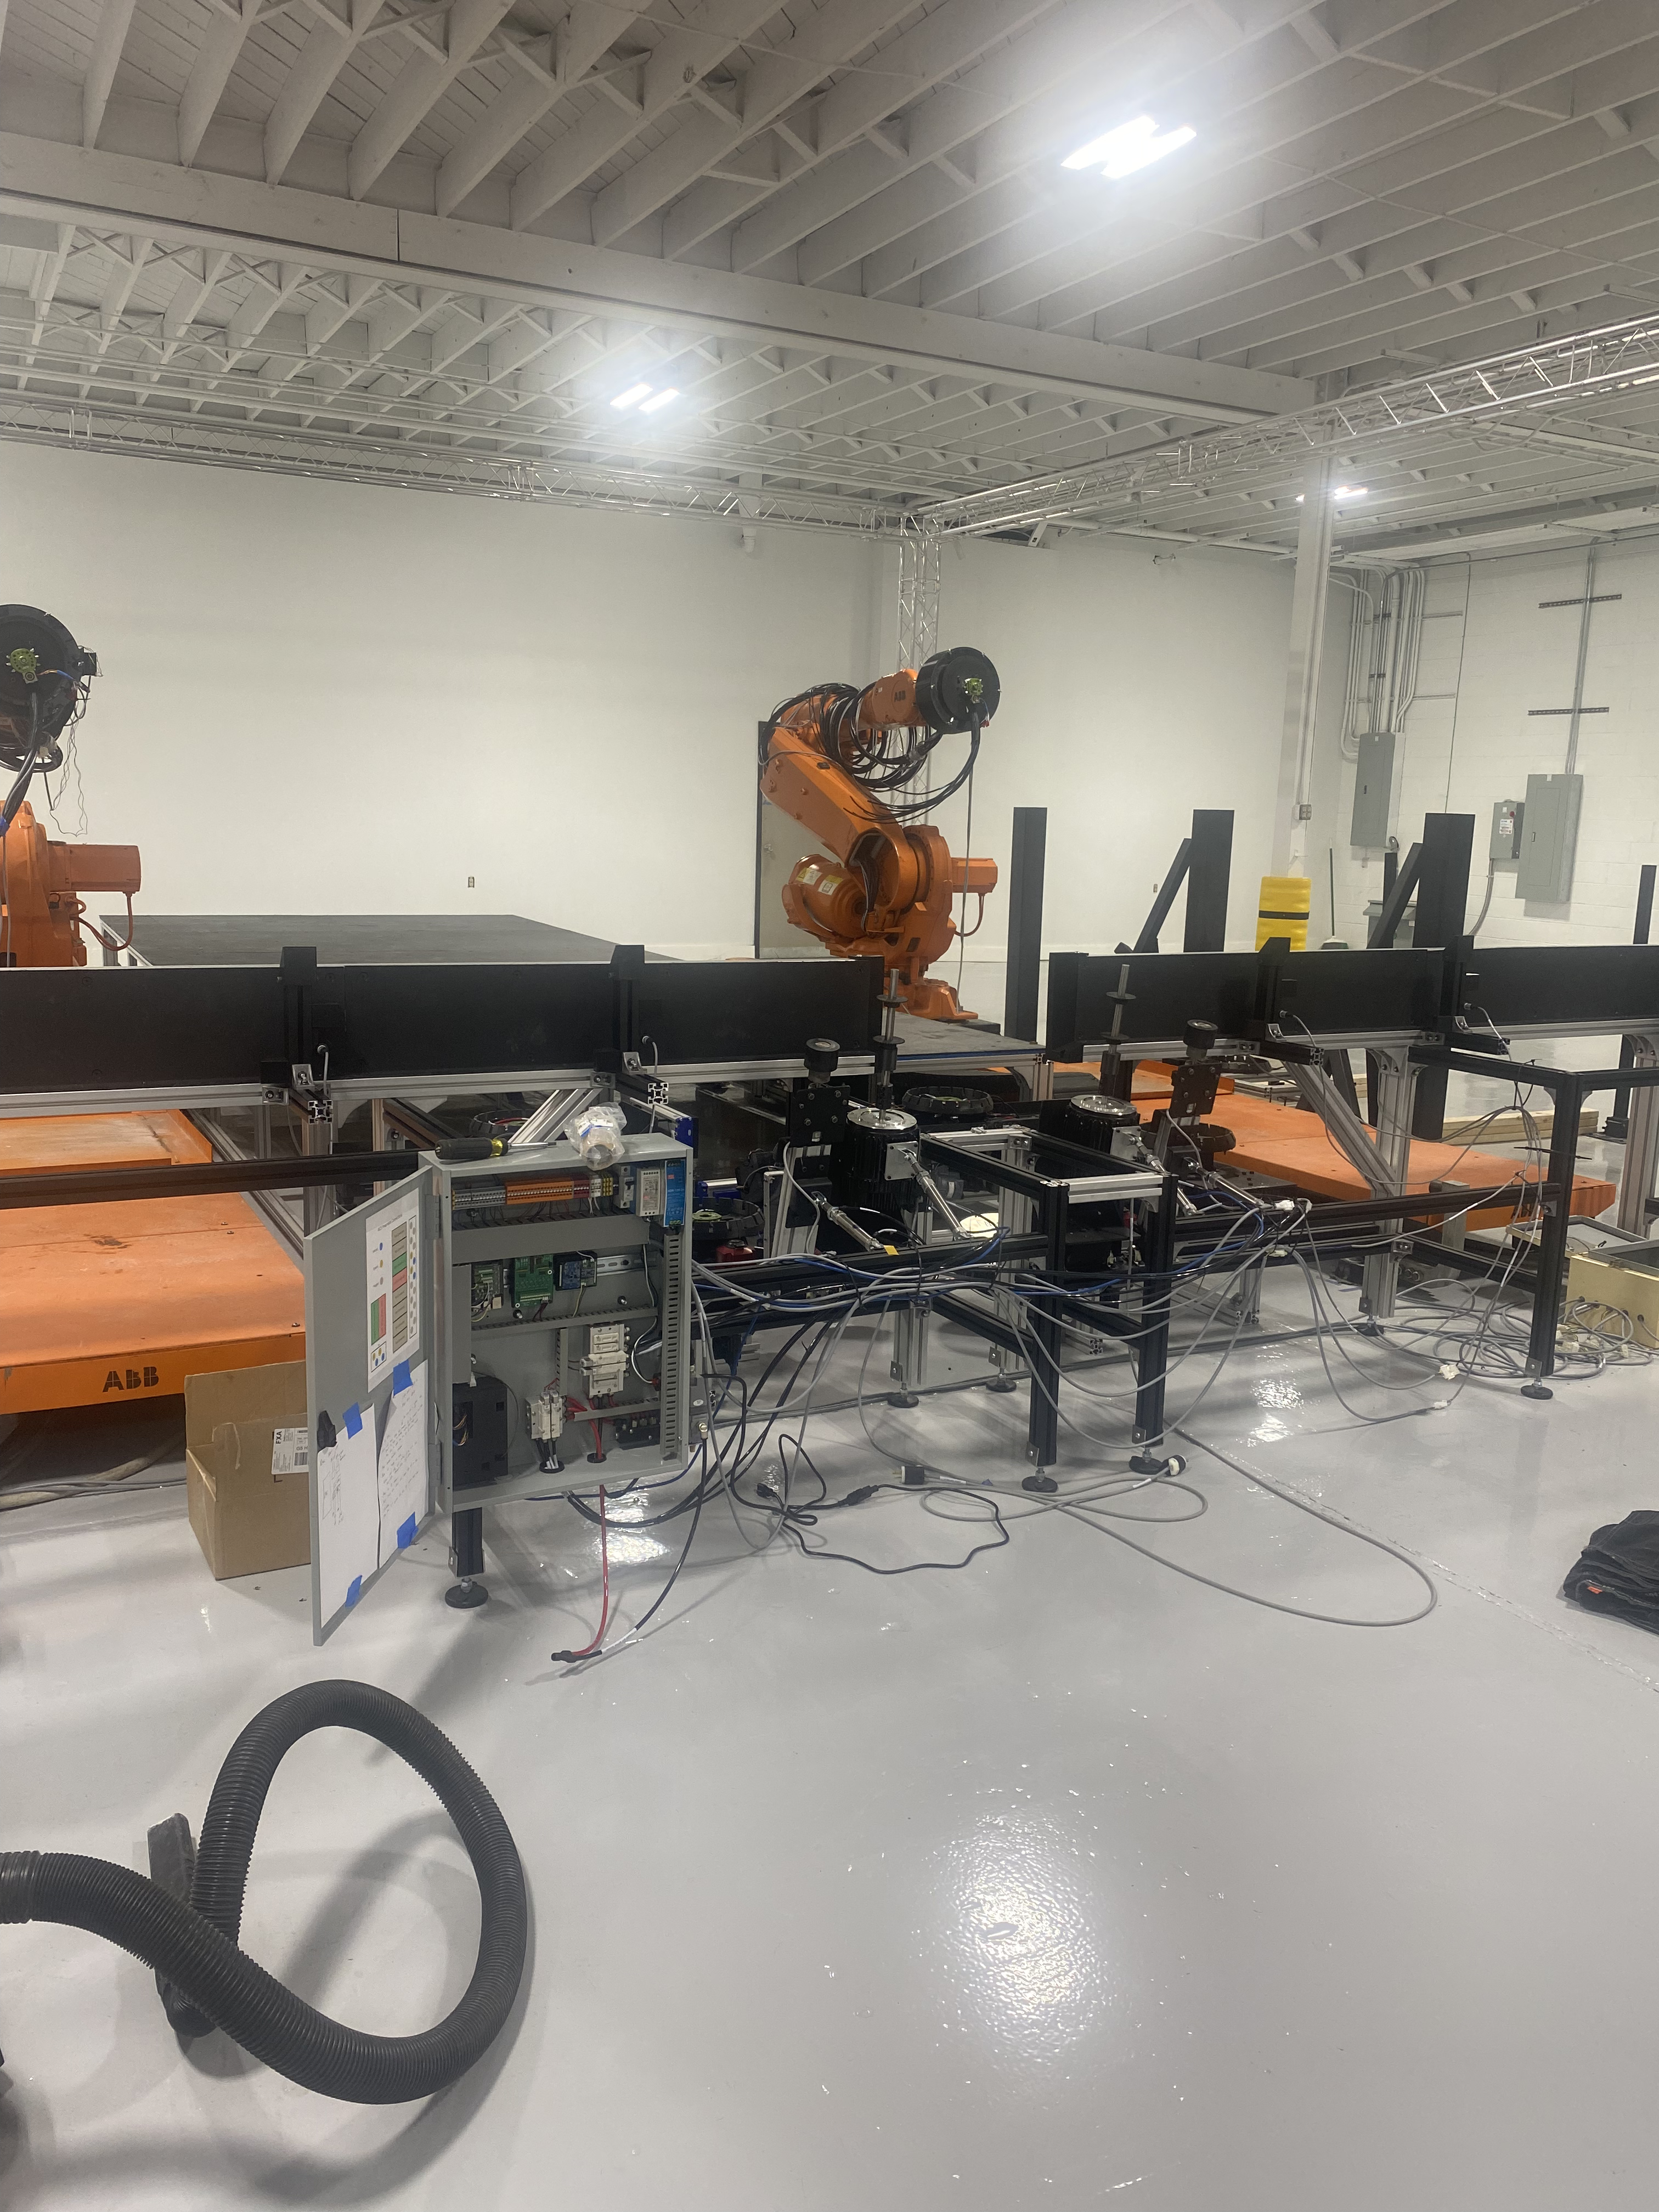
Factory Building in Progress
Shows wiring and pneumatic lines being run.
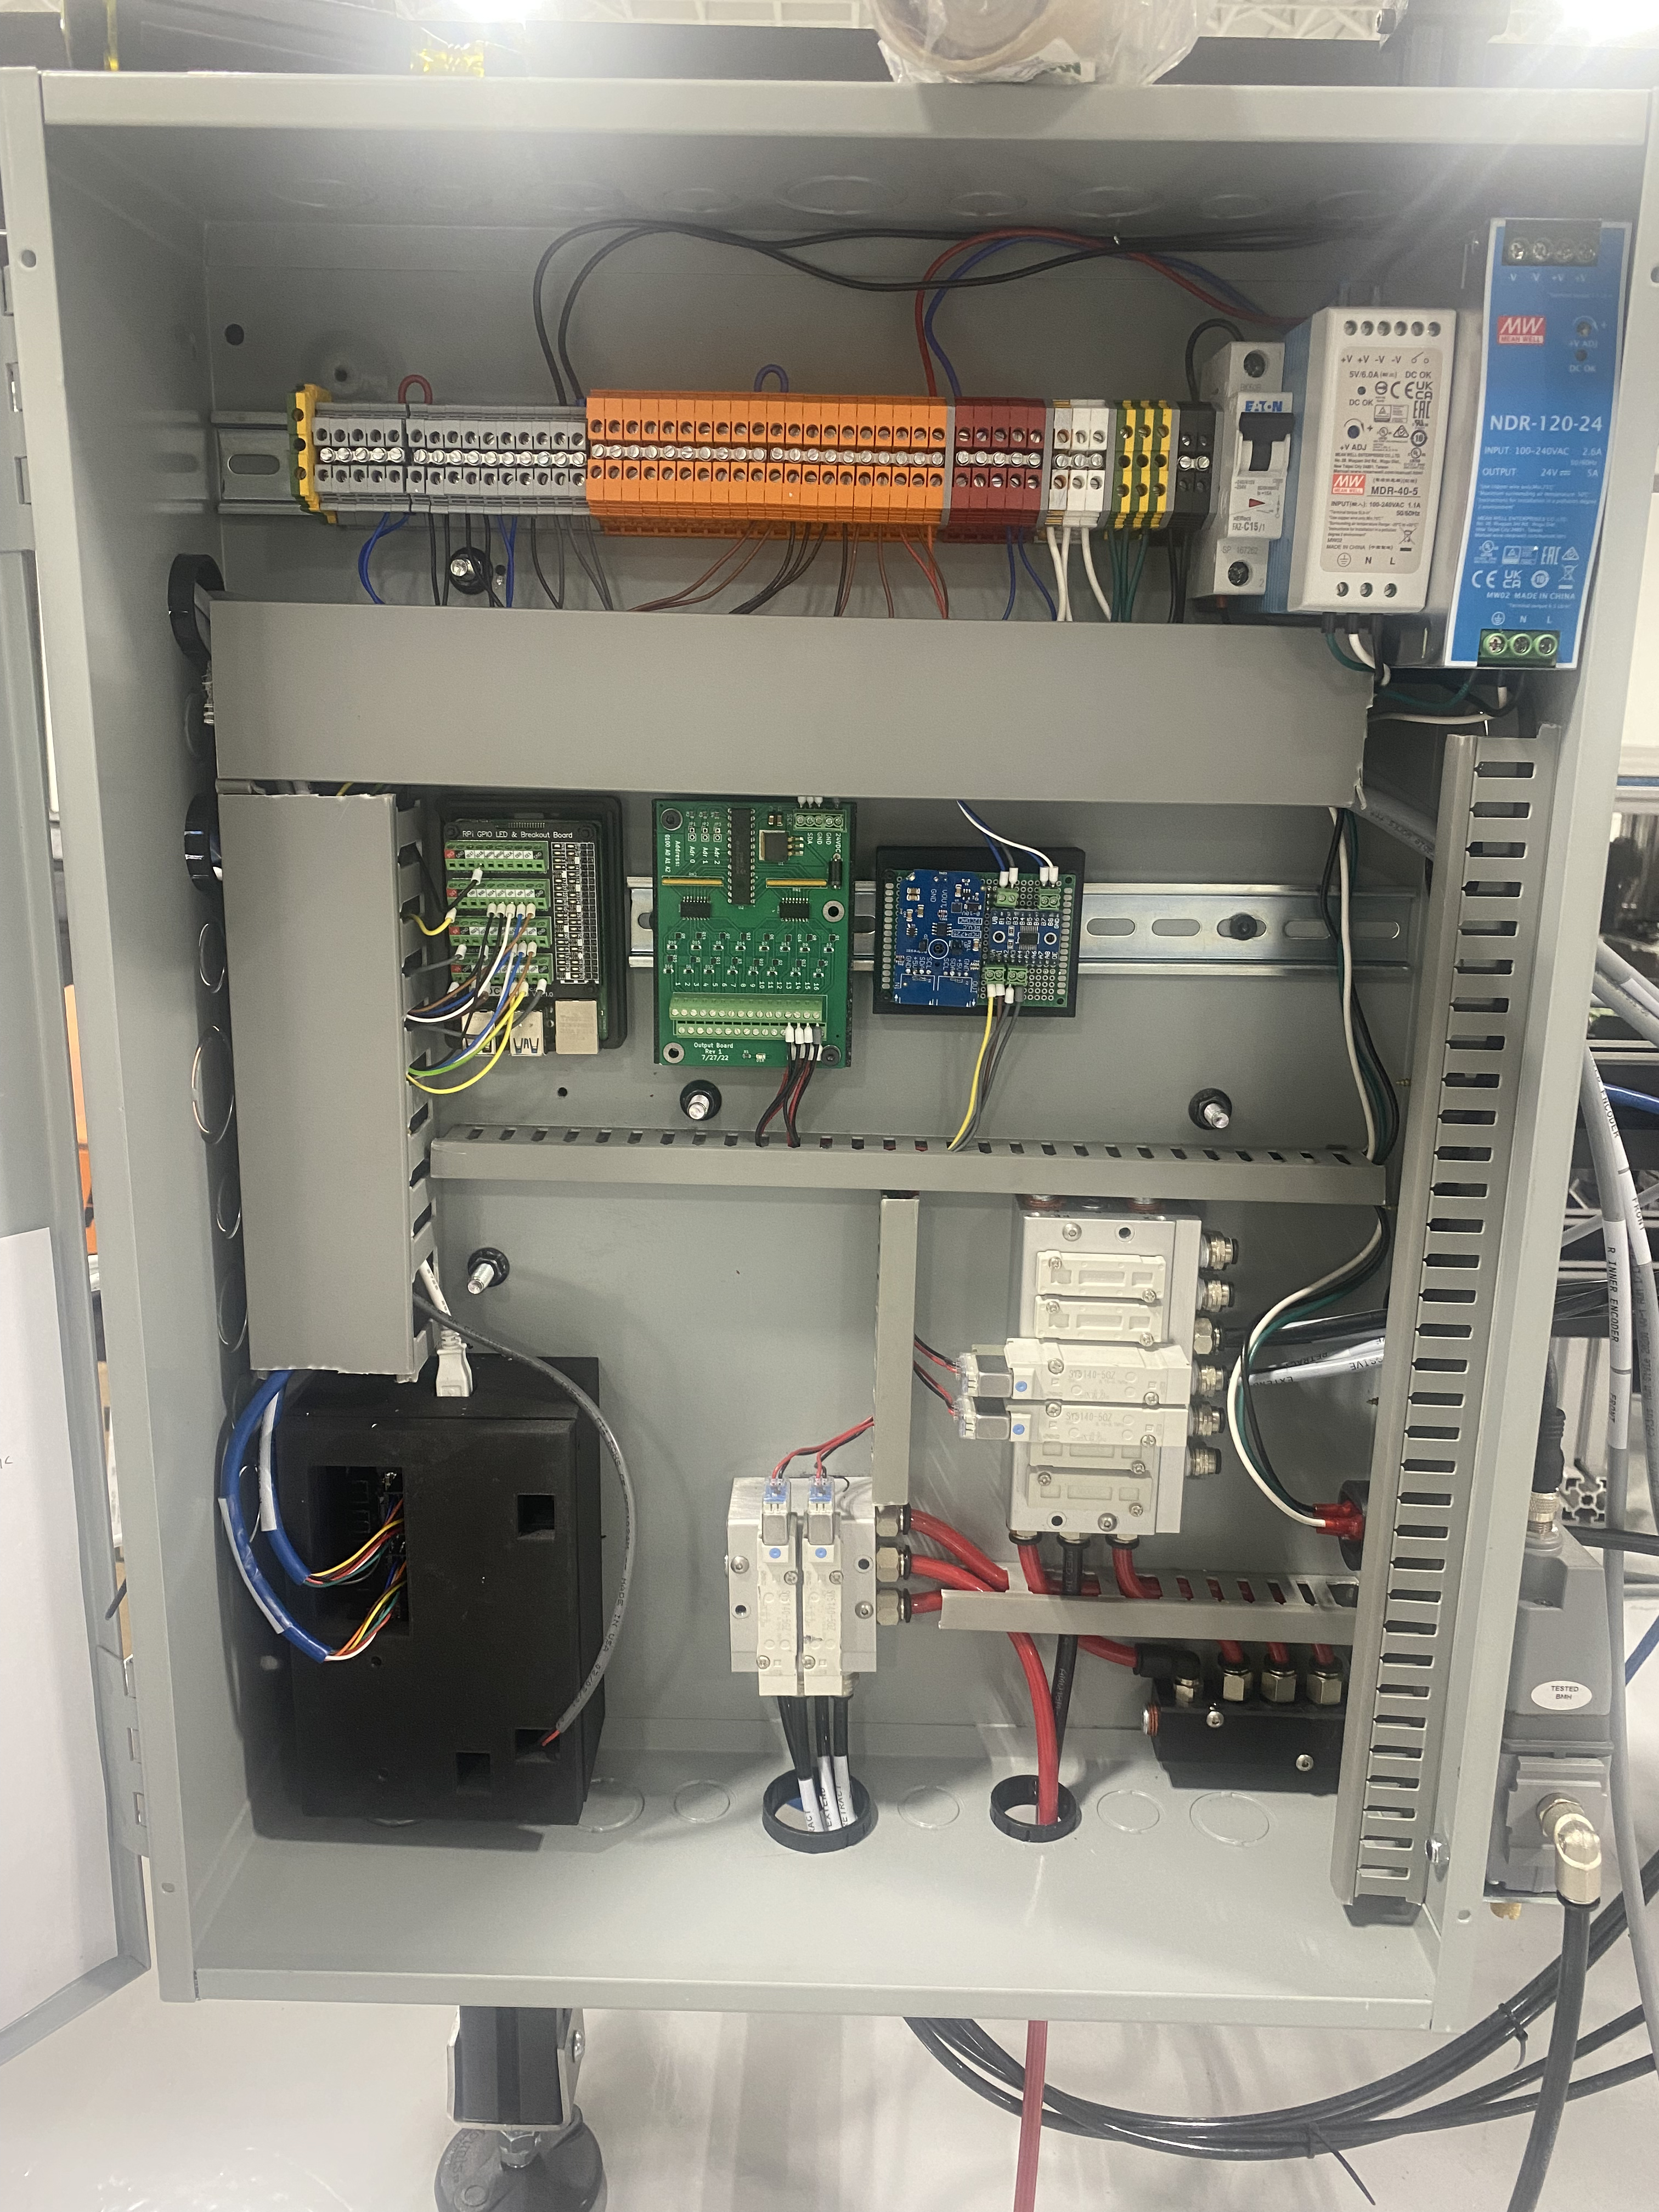
Close Up of Control Panel
I assembled and documented this component but did not design.
Welding
I spent some time MIG and stick welding at Botbuilt. I taught myself through Youtube videos briefly. I recognize they are not the cleanest or best welds but they got the job done. I look forward to mastering this skill in the future whether it is through my next co-ops, school design teams, night school during co-ops, or personal projects.
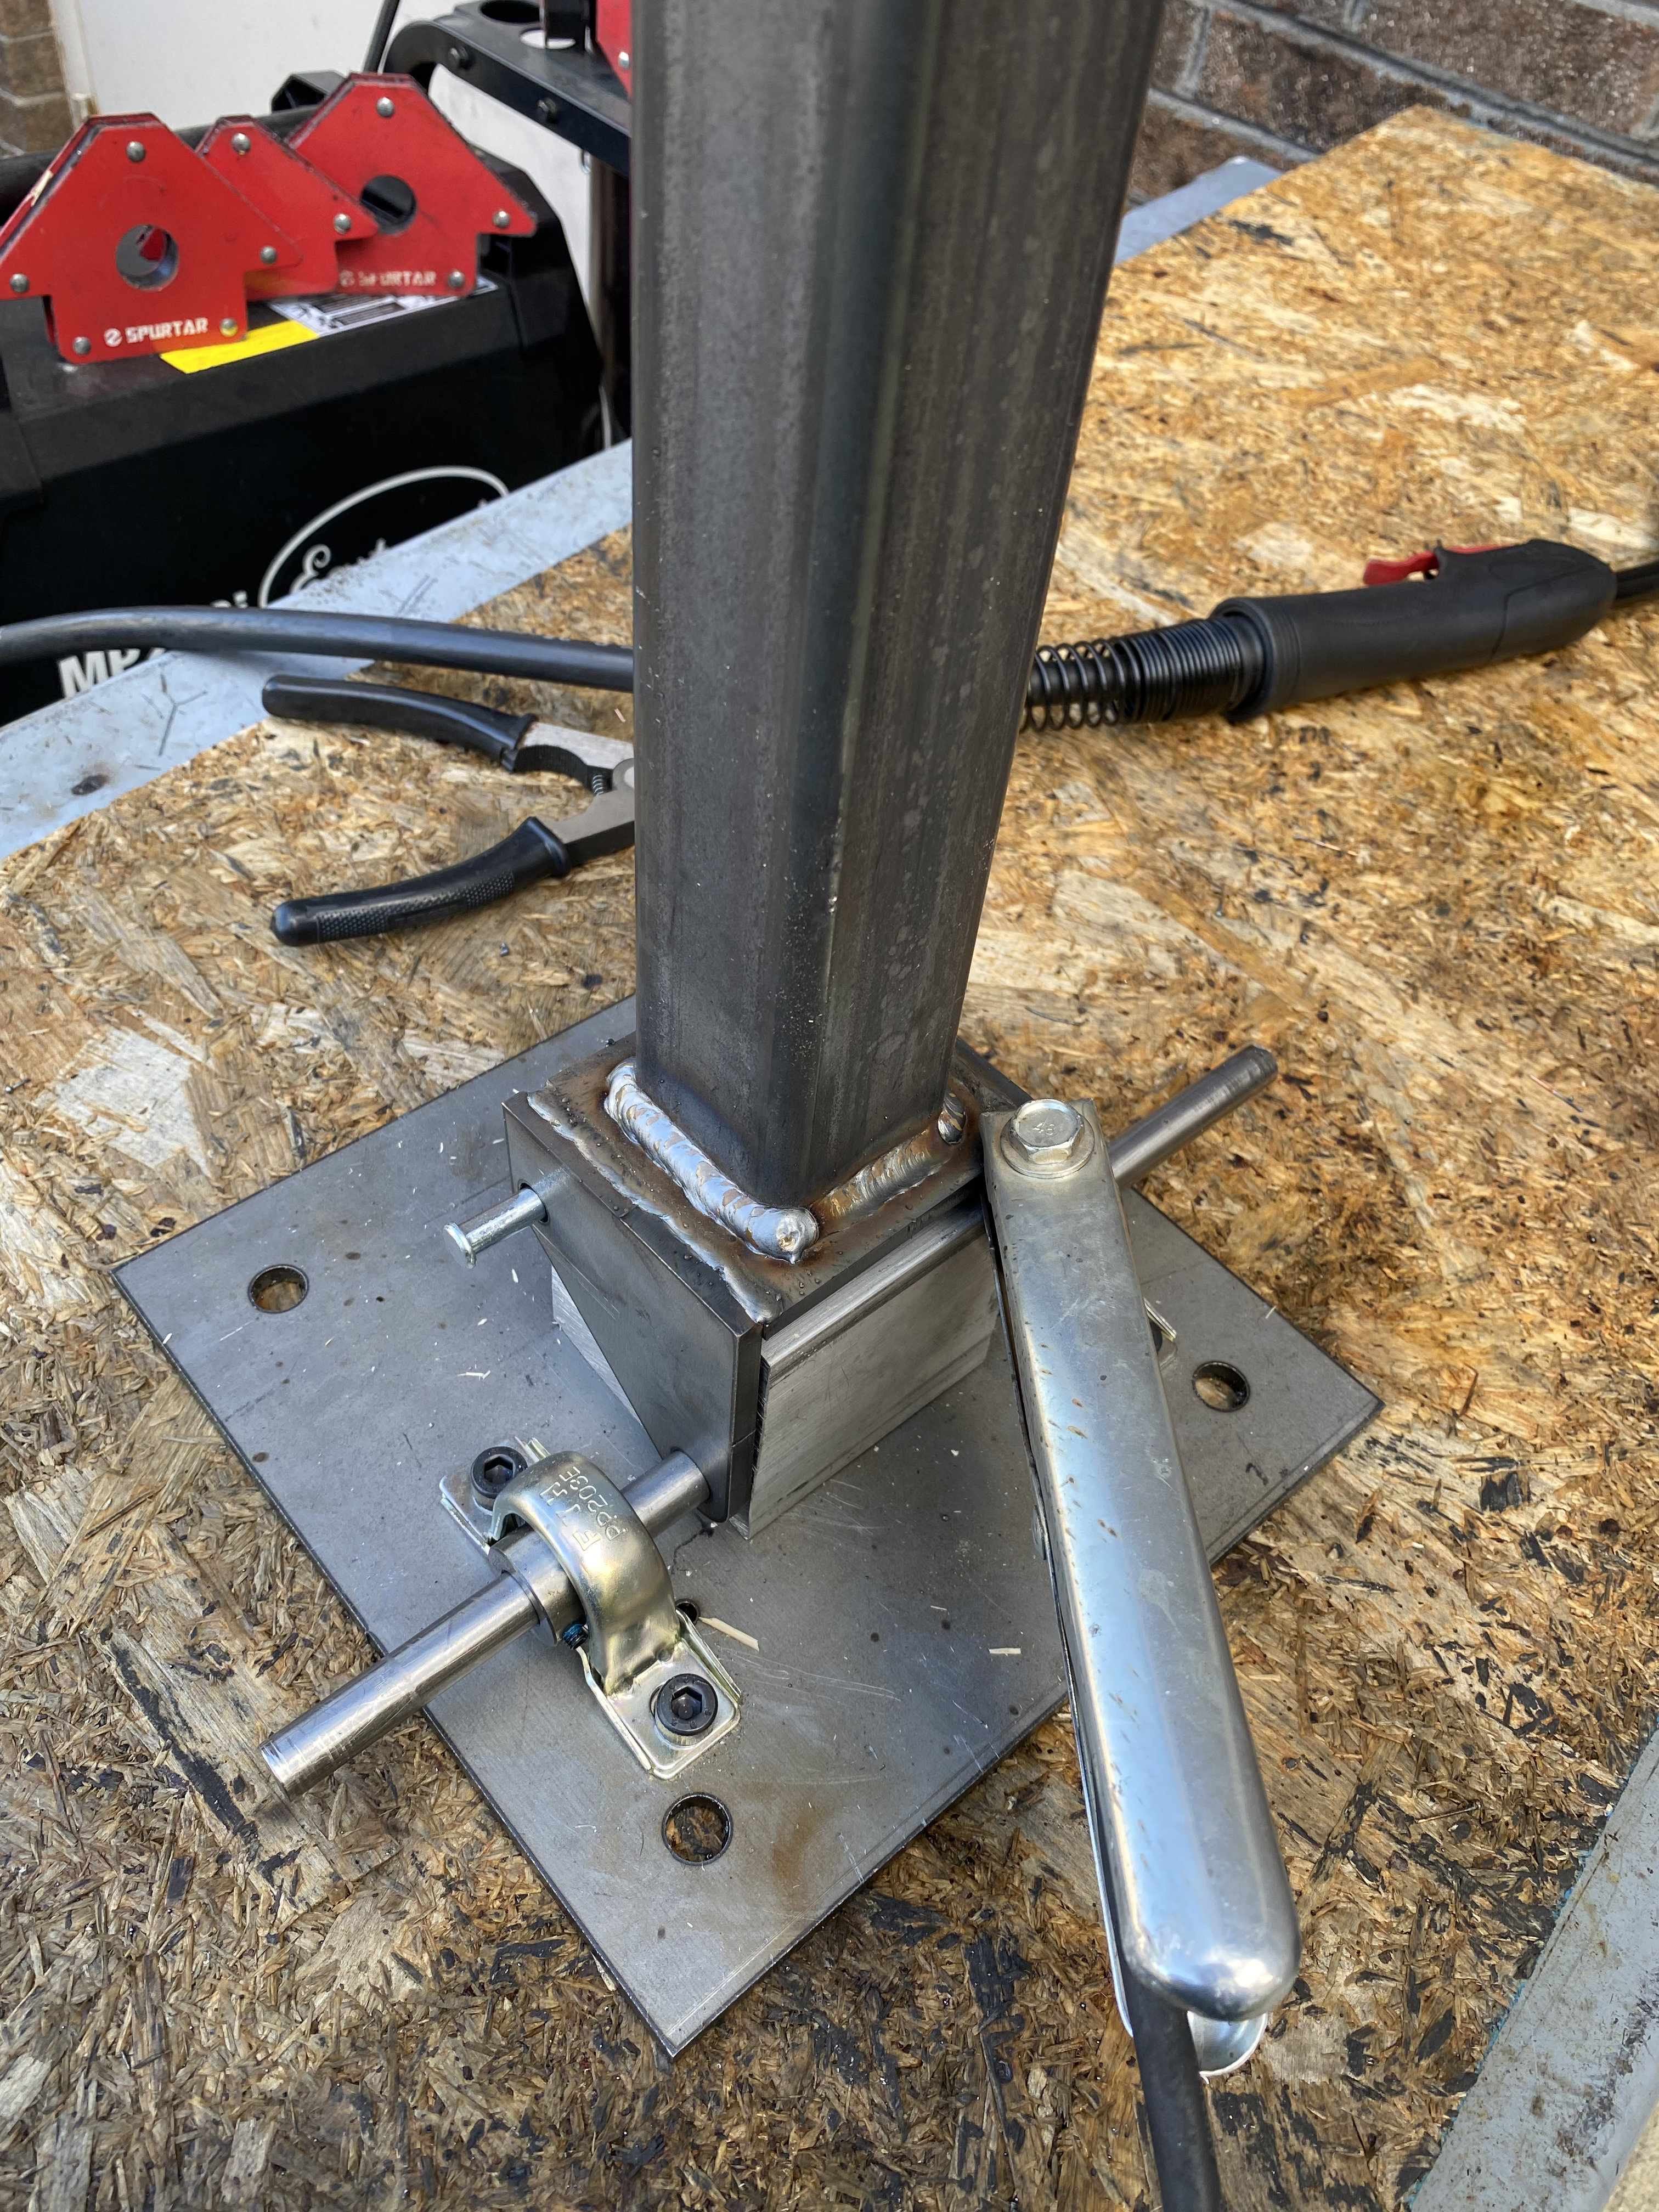
MIG Welding
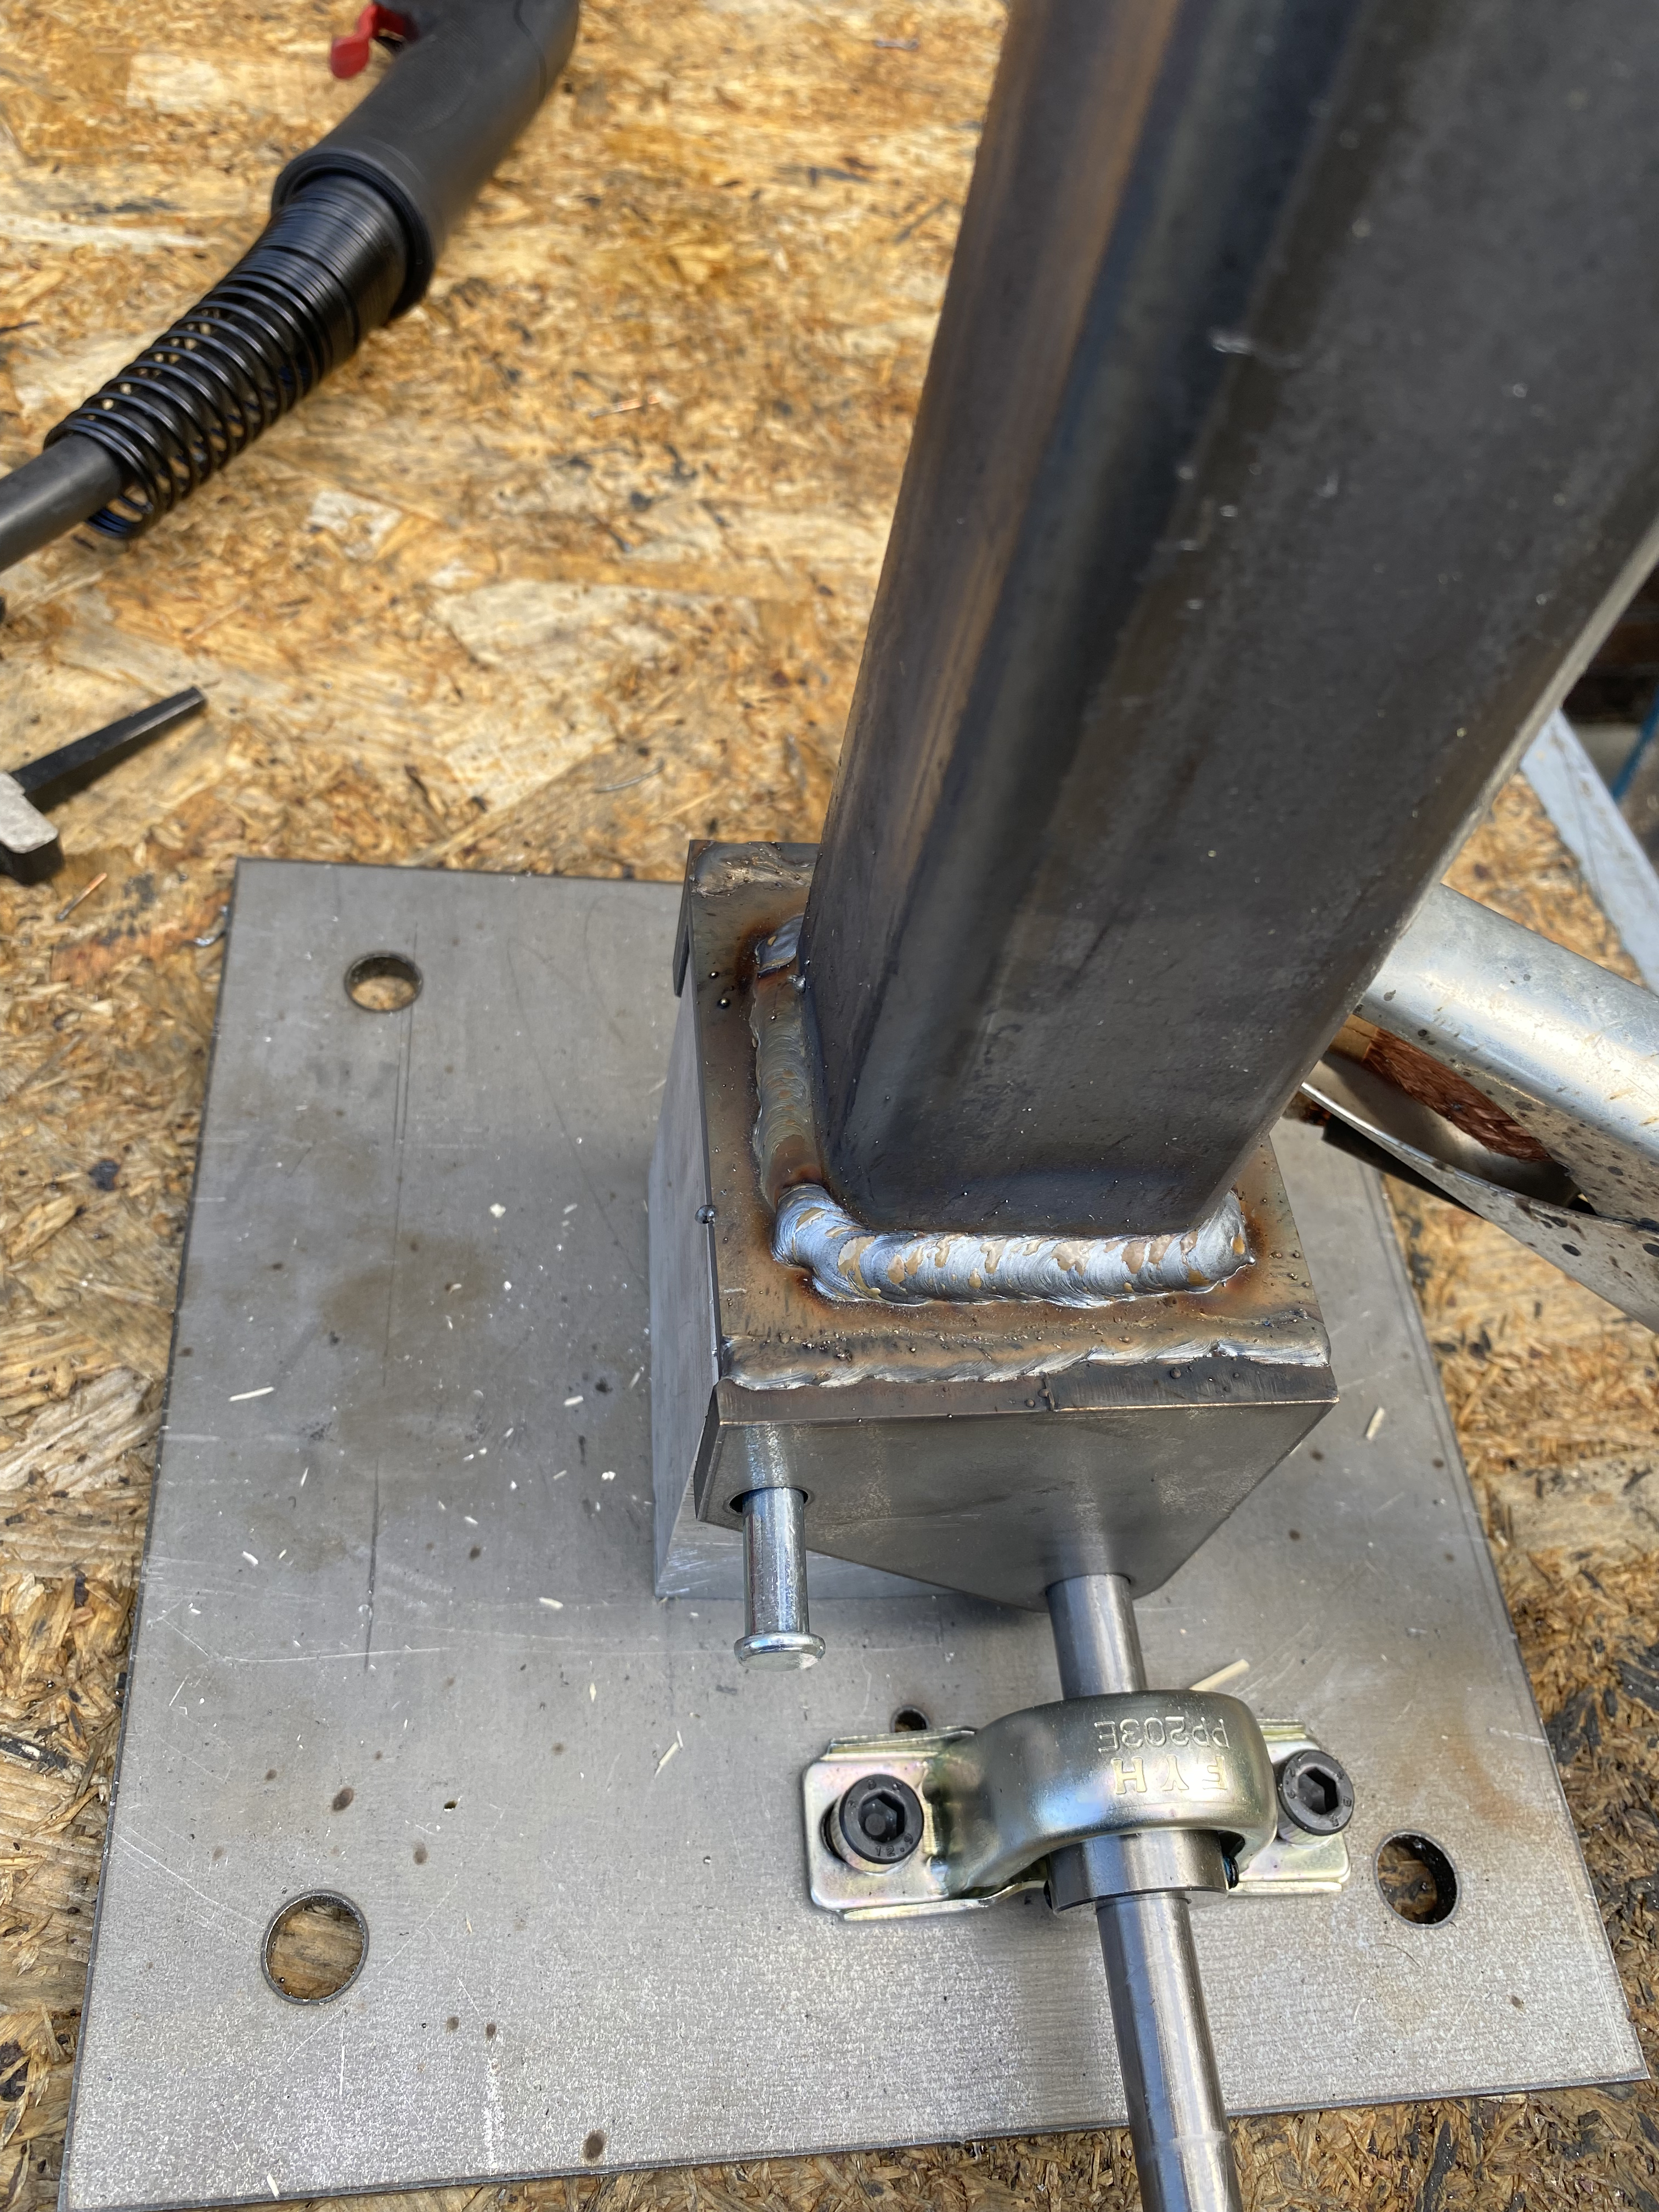
MIG Welding
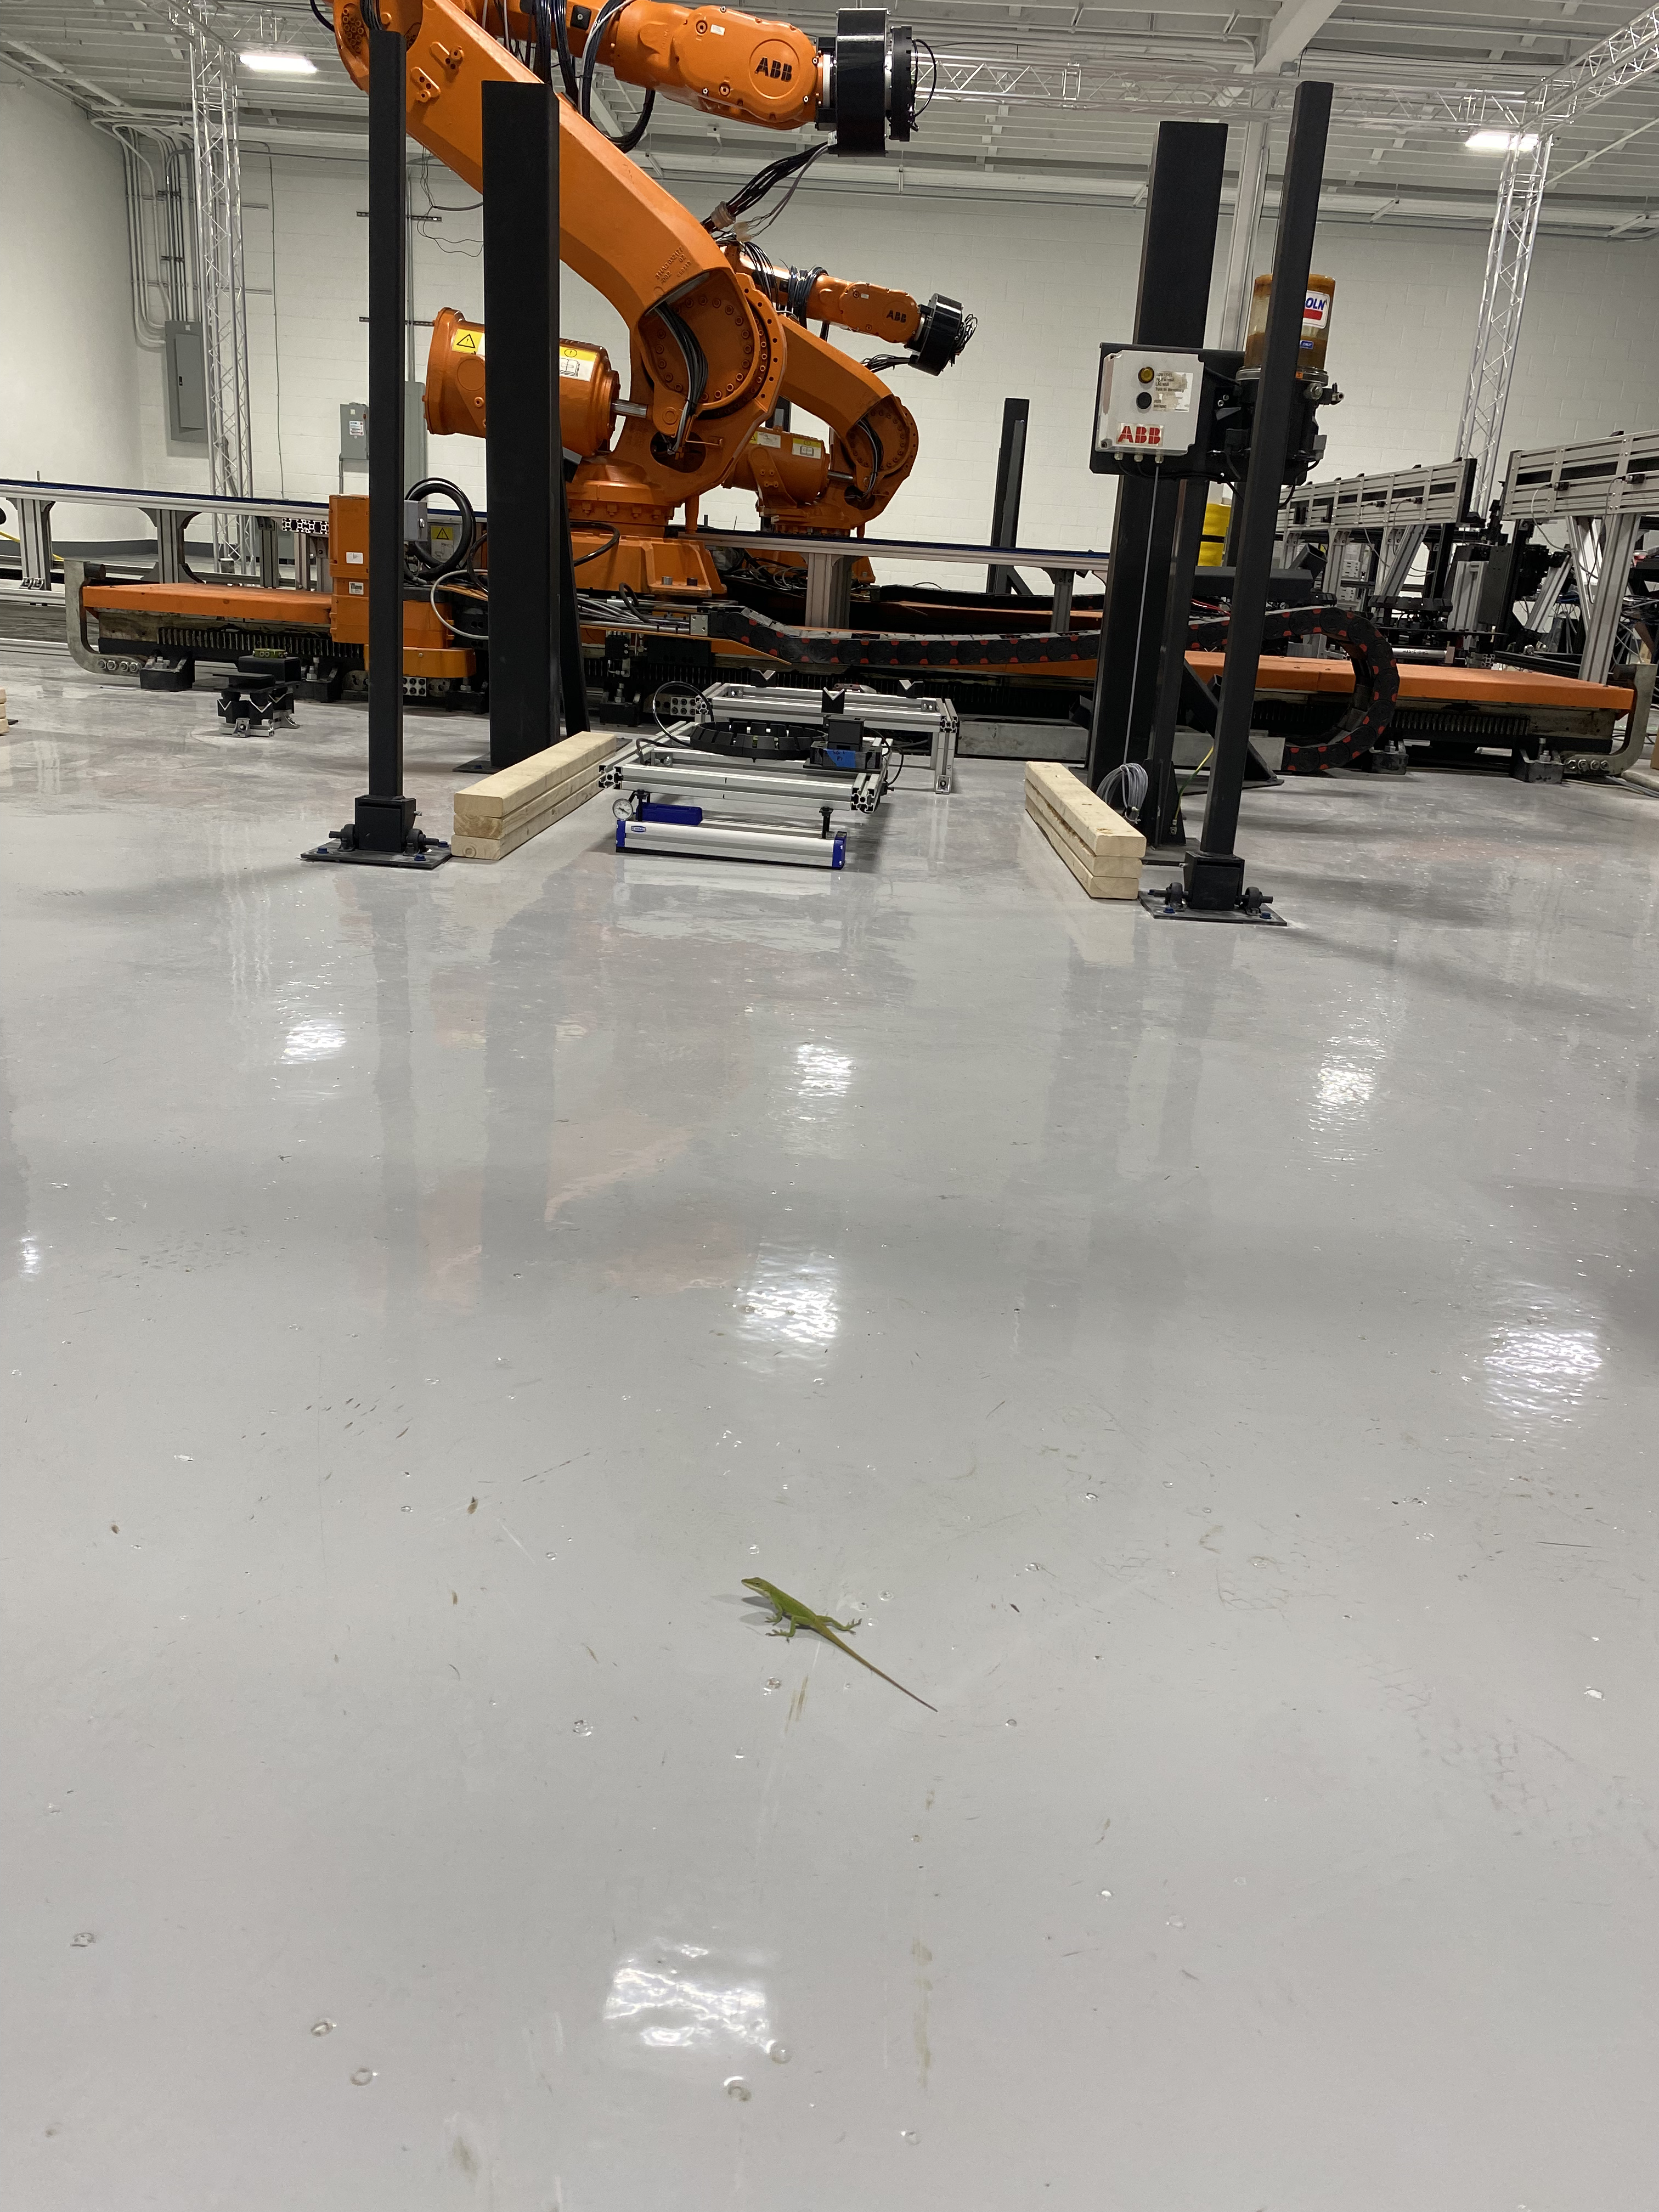
The Posts in Use in the Background
Enjoy the lizard who decided to show up that day.
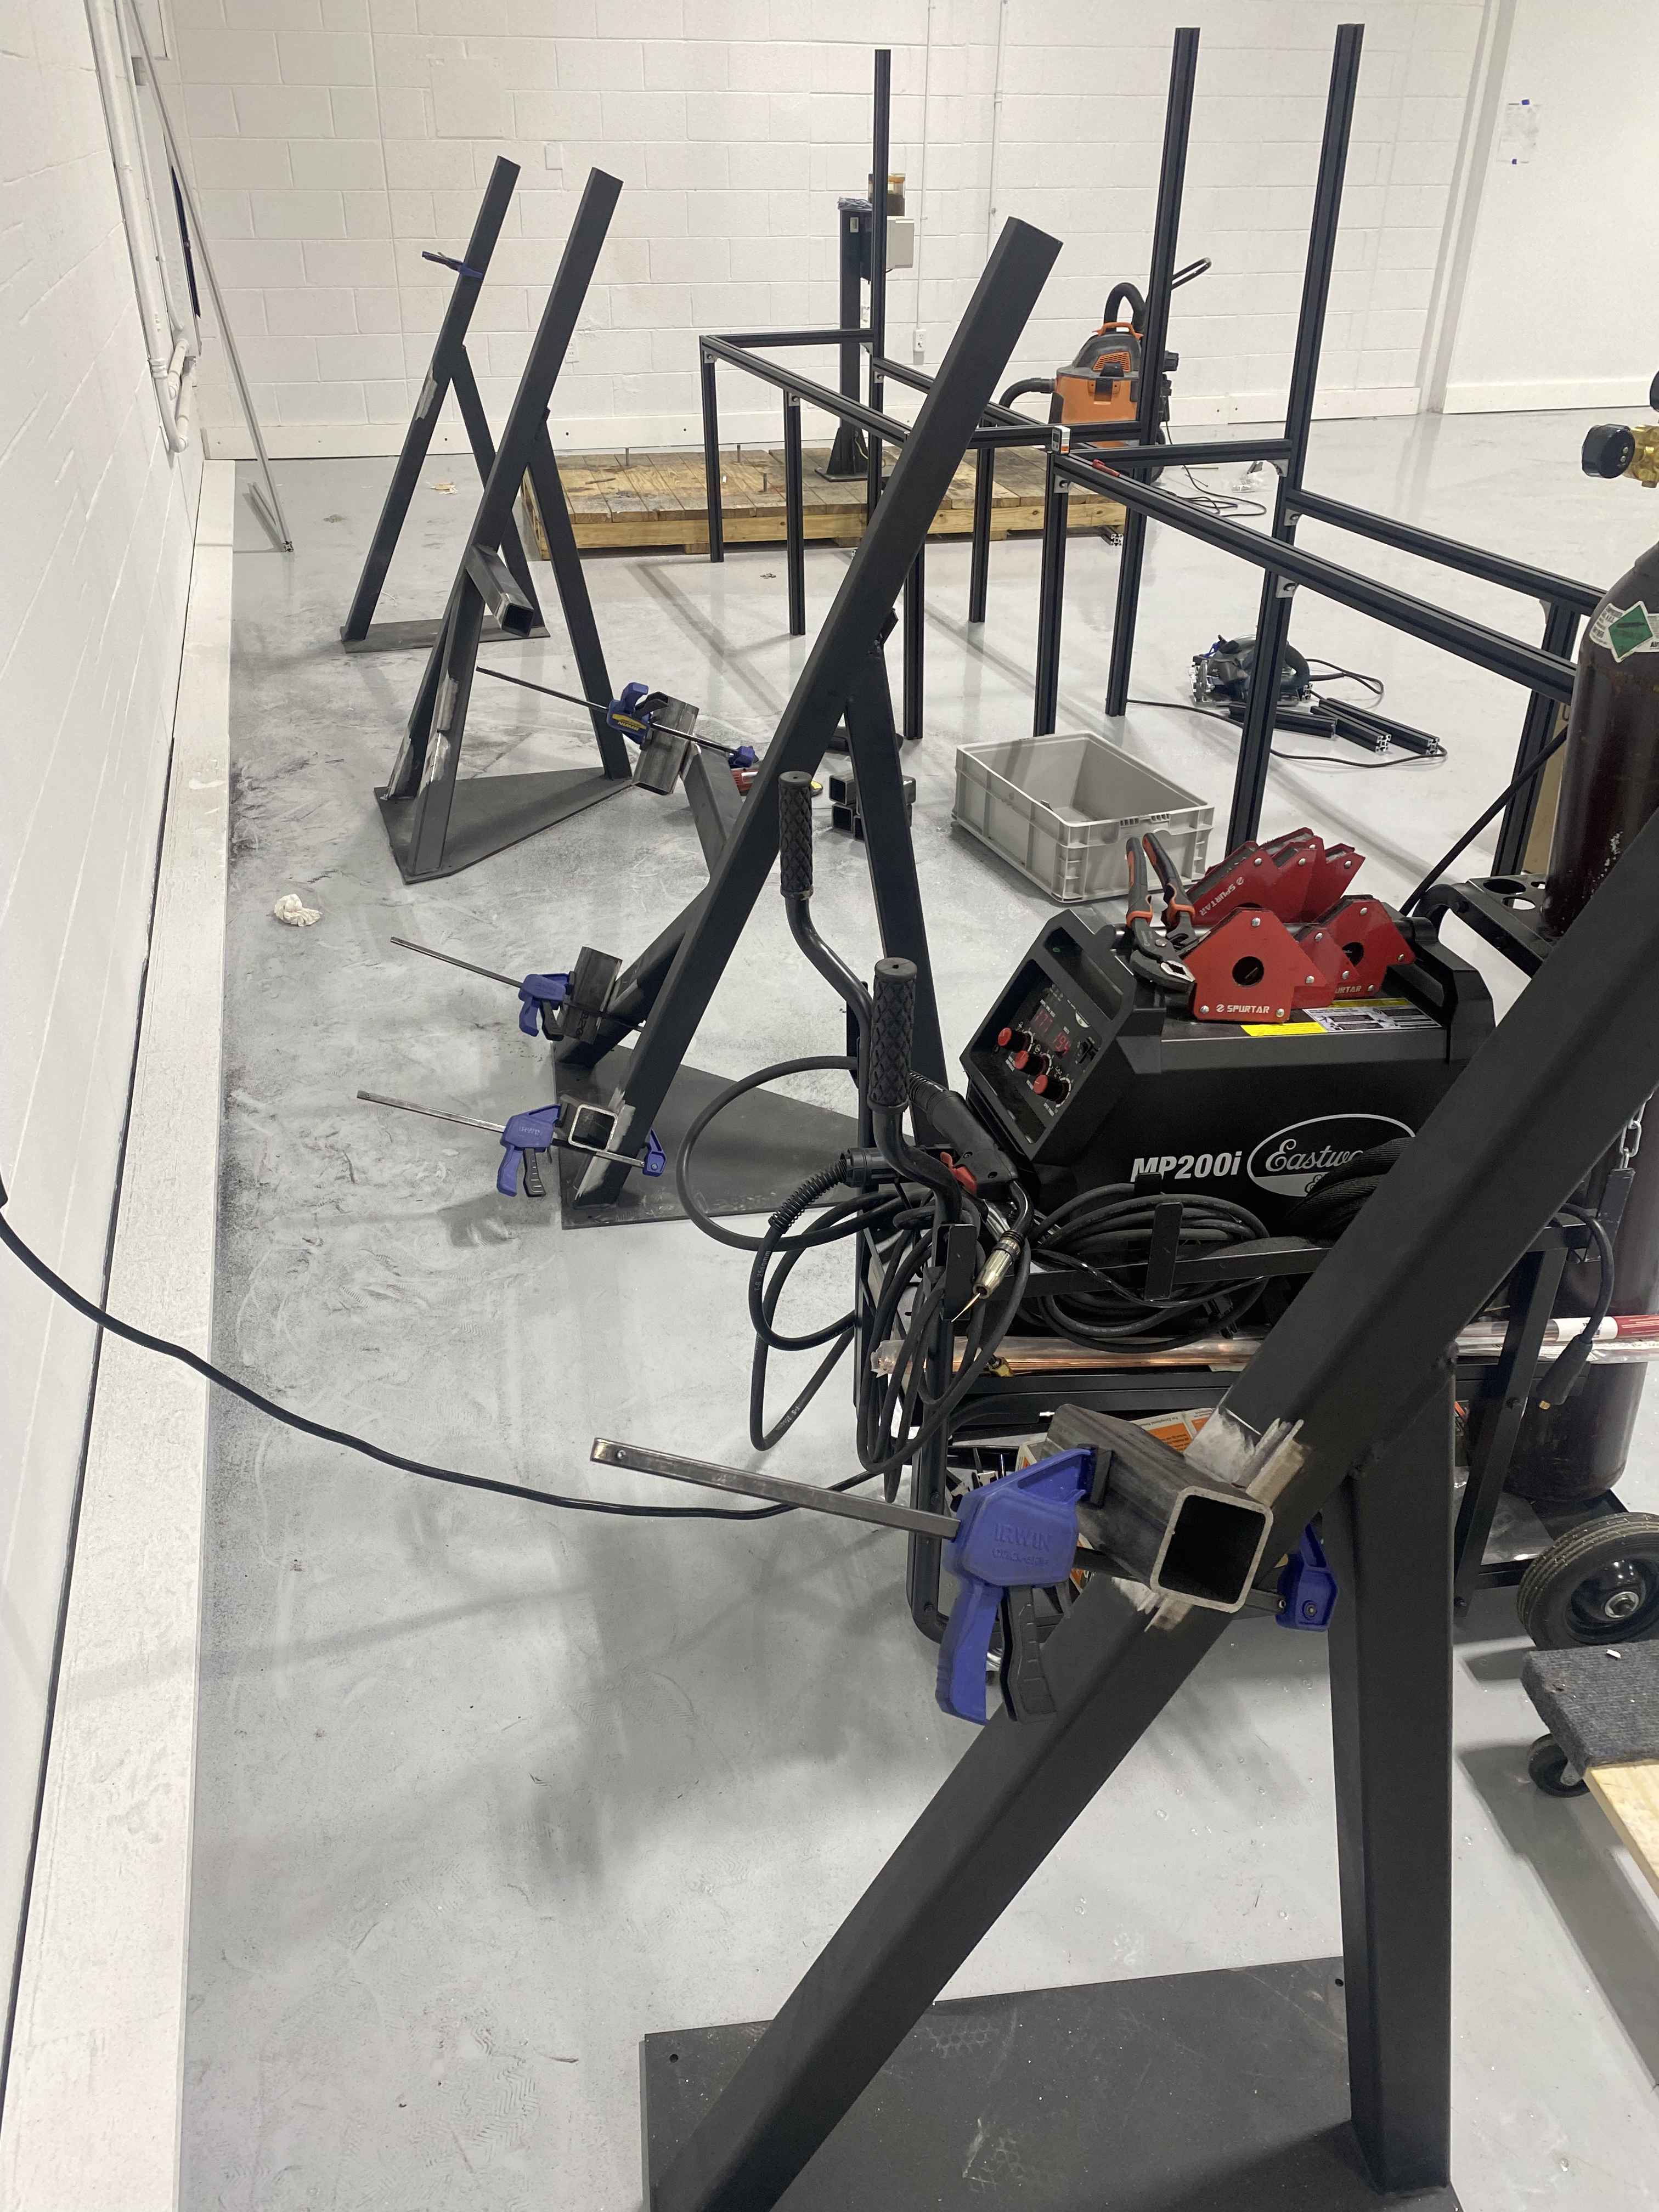
Welding Setup After Grinding Off Paint
Camera Cleaning Device
Originally I did not have the option to use compressed air since all of the solenoid ports were being used on the robot, so I started with a small electronic fan with different nozzle designs with the hope that it would be enough air flow to blow off wood dust but unfortunately, after many attempts, no design really worked. I really pushed to try and make the pneumatic option worked and after some reworking of the pneumatic circuit on the robot side, we were able to open up a port for me to use. From there, I began prototyping a pneumatic design and quickly developed a working solution that works flawlessly.
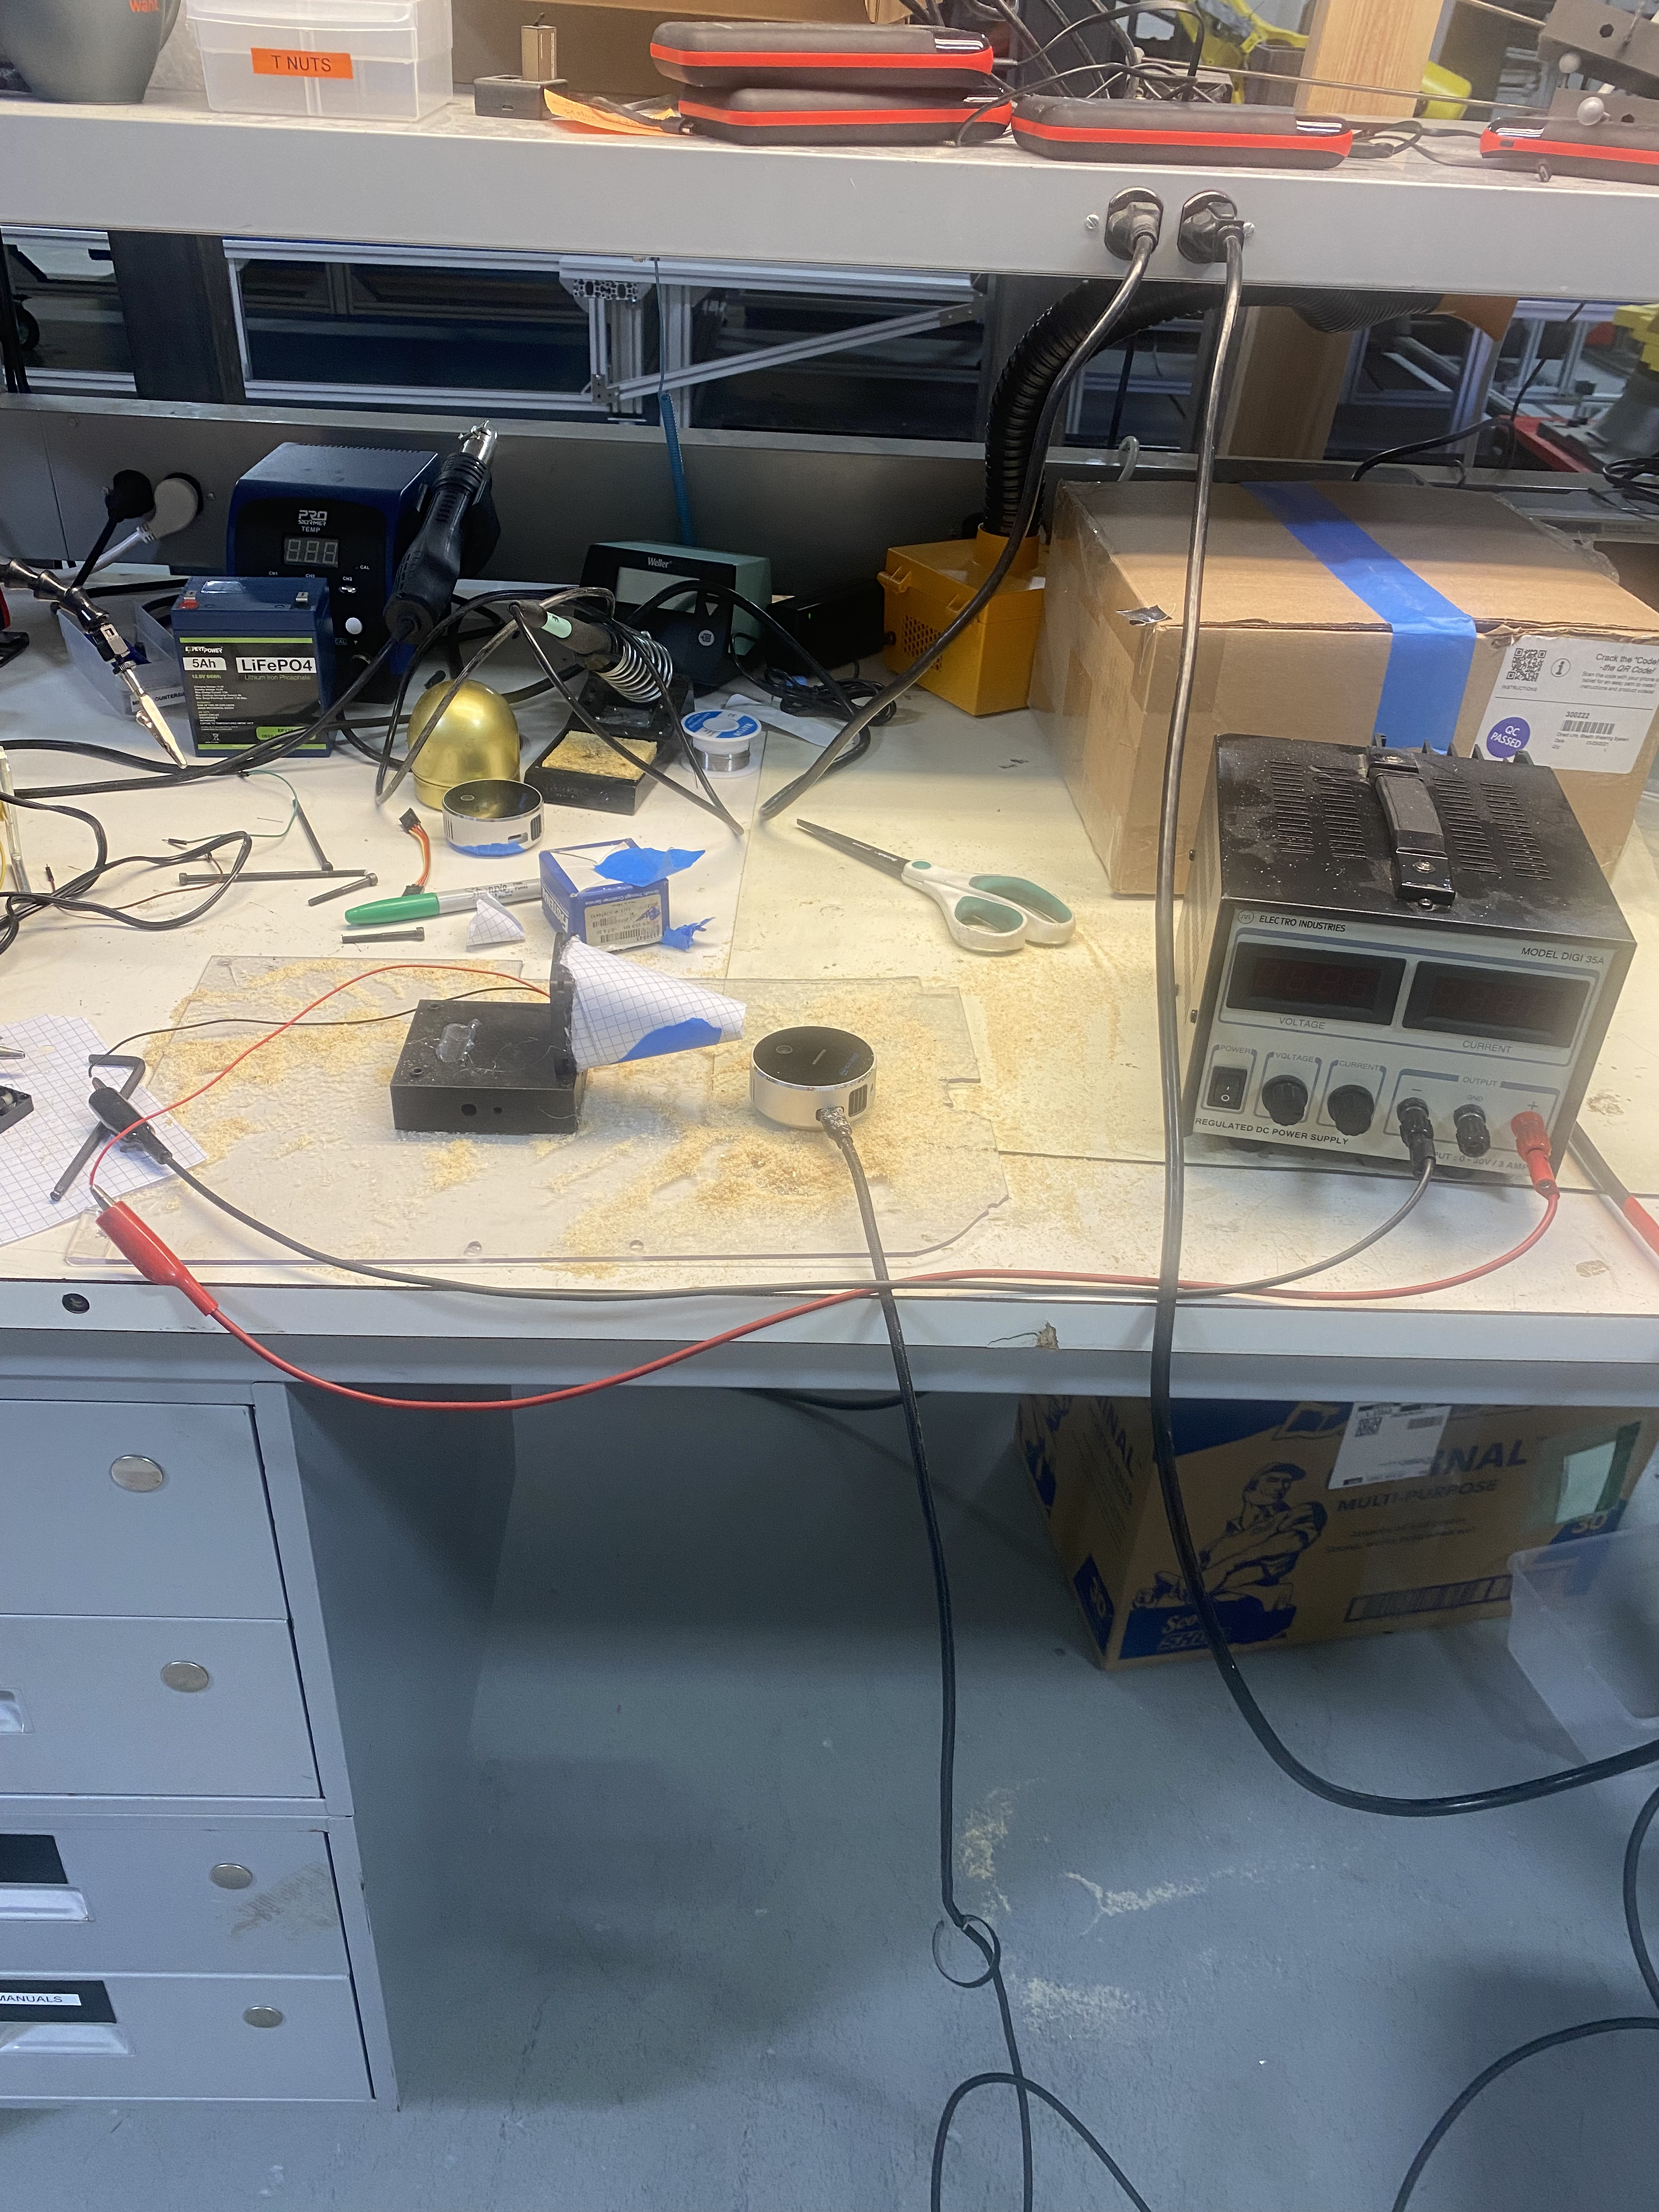
Paper Cone
First attempt to see how much adding a nozzle helps compared to just the fan alone. Result: It seemed to help enough to pursue this road with some effort.
Cardboard Fan Nozzle Test
Trying a more rigid design with a different shape since it was easier to make.
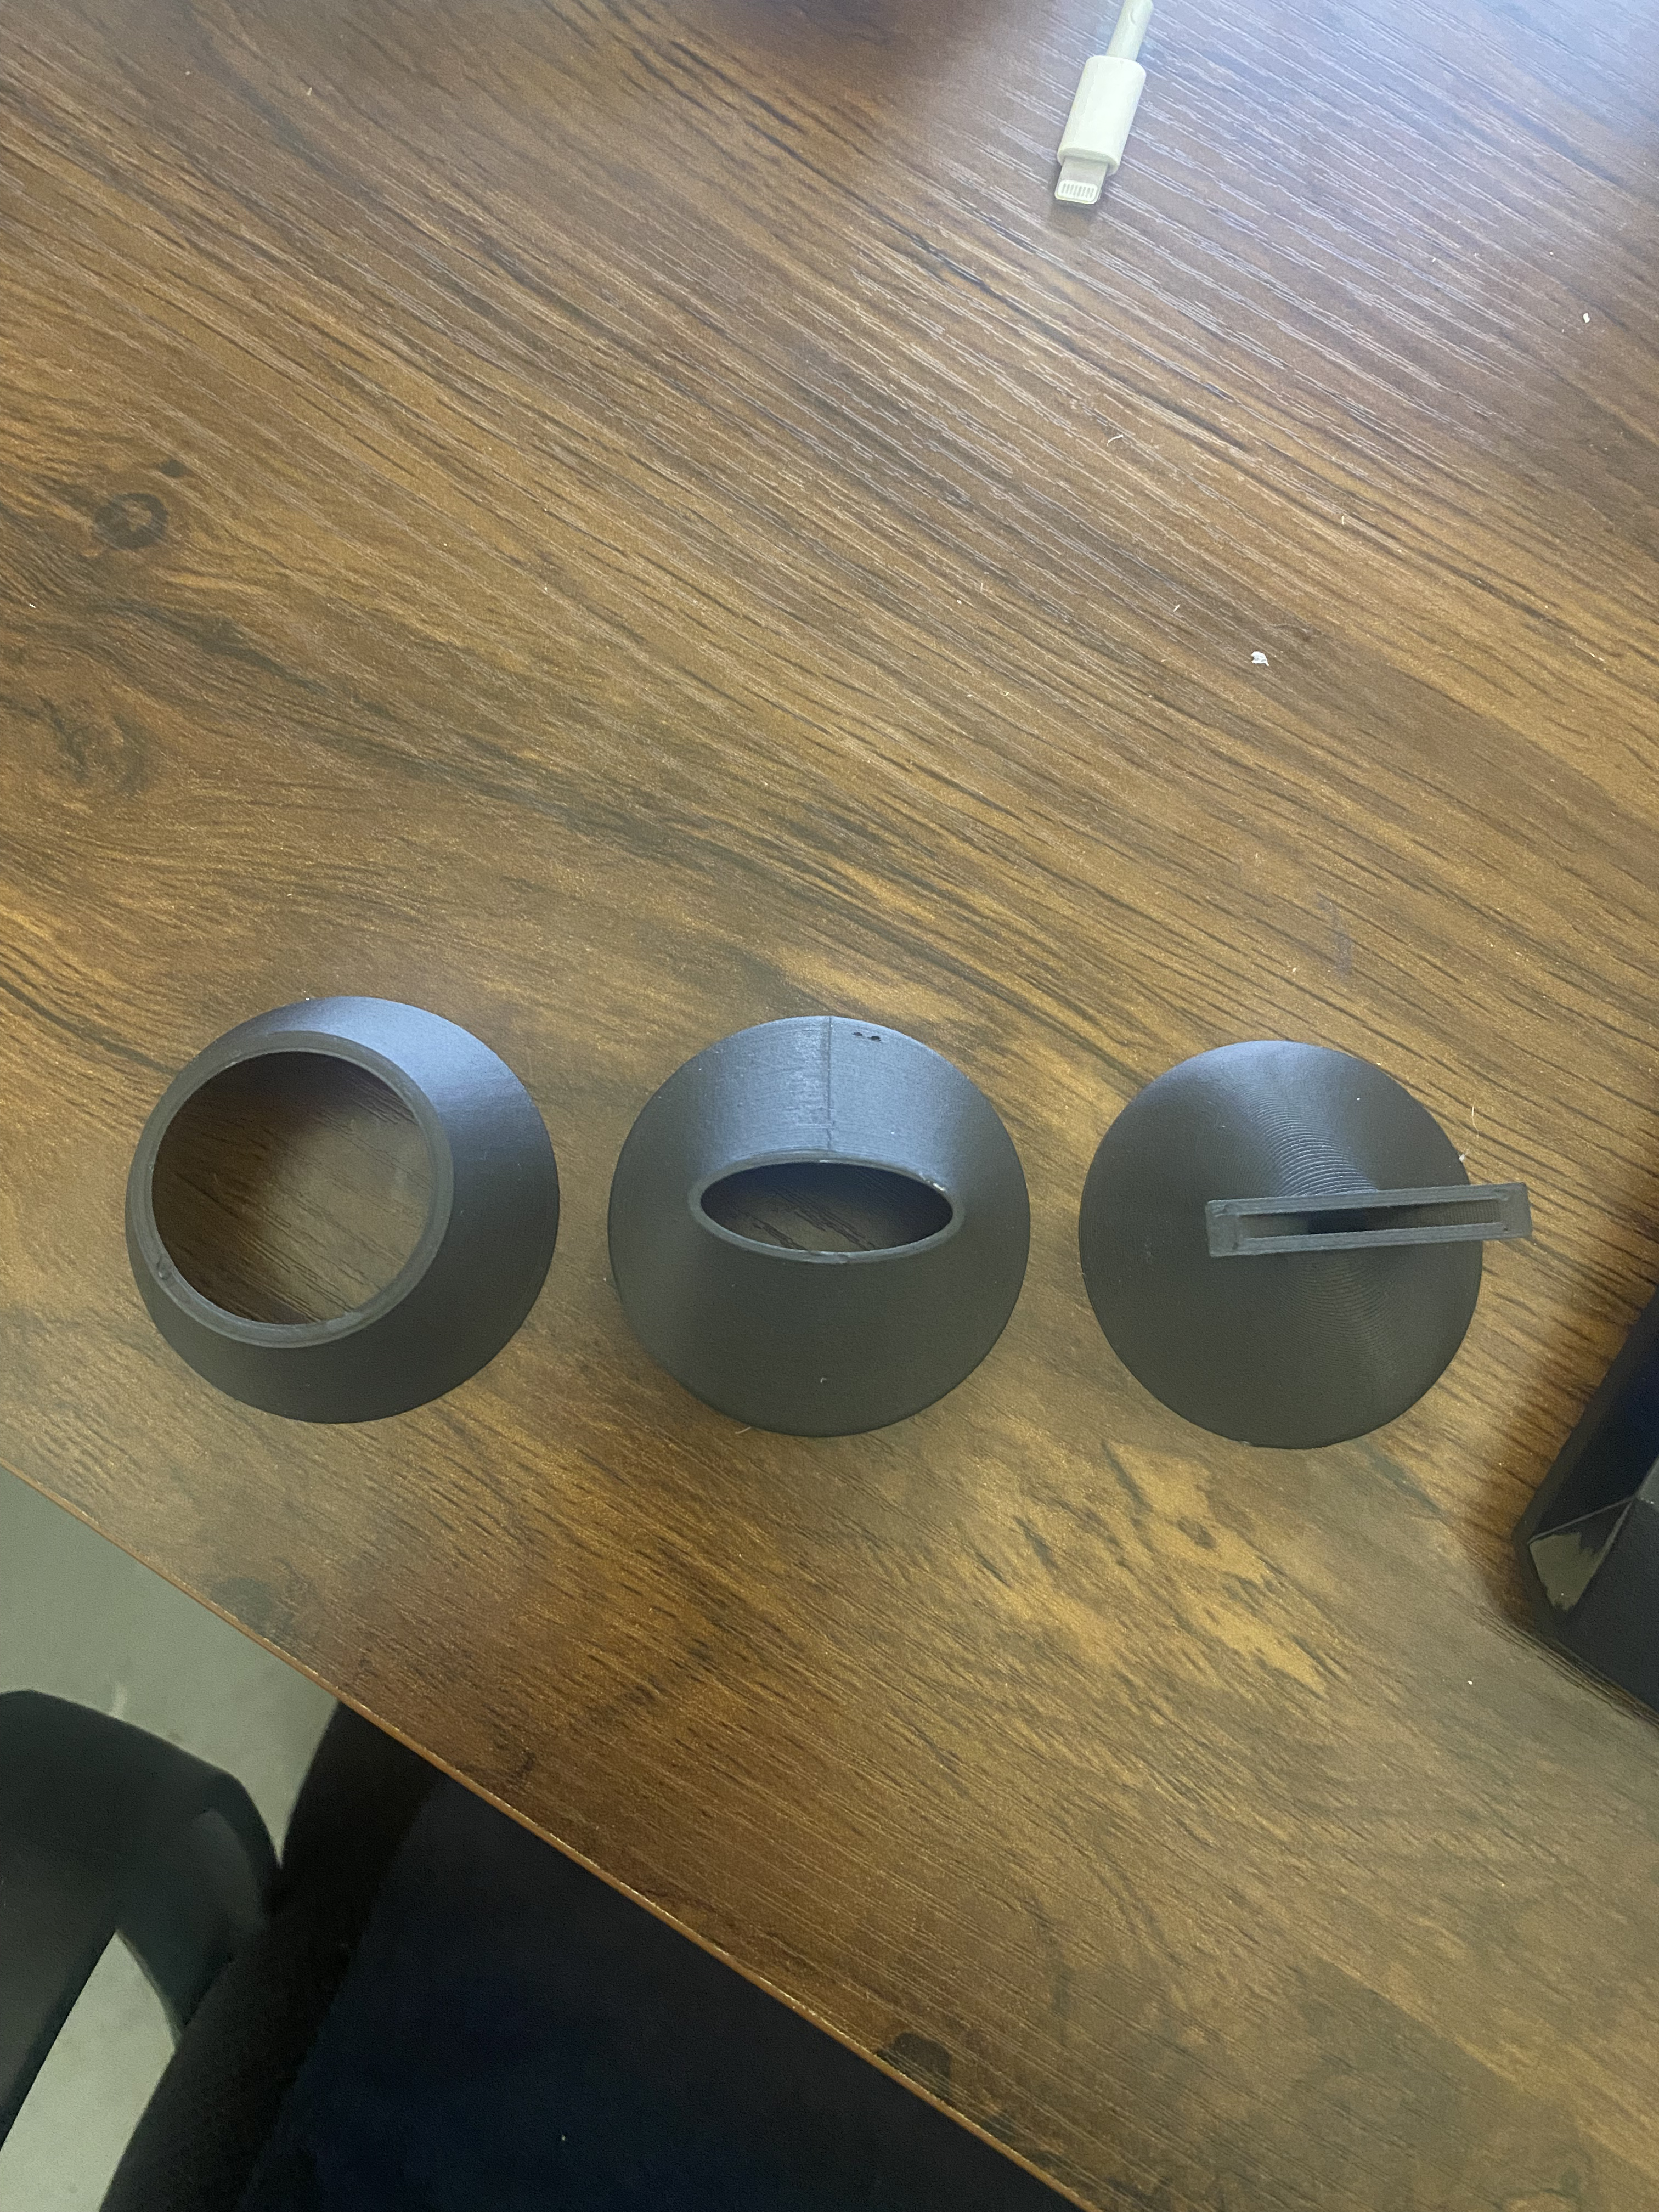
3D Printed Fan Nozzles
Decided to take the time to 3D print some options. I did not expect the third one to work but I decided to see what would happen, and as I guessed, it created too much turbulence to work.
3D Printed Fan Nozzle Test
This is a video of the most successful test which still did not clear the dust as I would hope.
Pneumatic Prototype
I melted holes in a pneumatic line using a soldering iron and used washers and hot glue to make a quick prototype. This worked very well so I pursued this further.
CAD Concept
I created this CAD model and 3D printed it using very thing layers to ensure the holes would get printed properly, I also did not use support material since it would be nearly impossible to get it out of the middle section where I want the air to flow.
Final Working Concept
This test shows the final concept being tested successfully. From here, it was mounted on the robot and is being used to this day.
80-20 Aluminum Extrusion Storage
This was my first task at Botbuilt. I revamped the storage rack for the aluminum extrusion and built it in a few days.
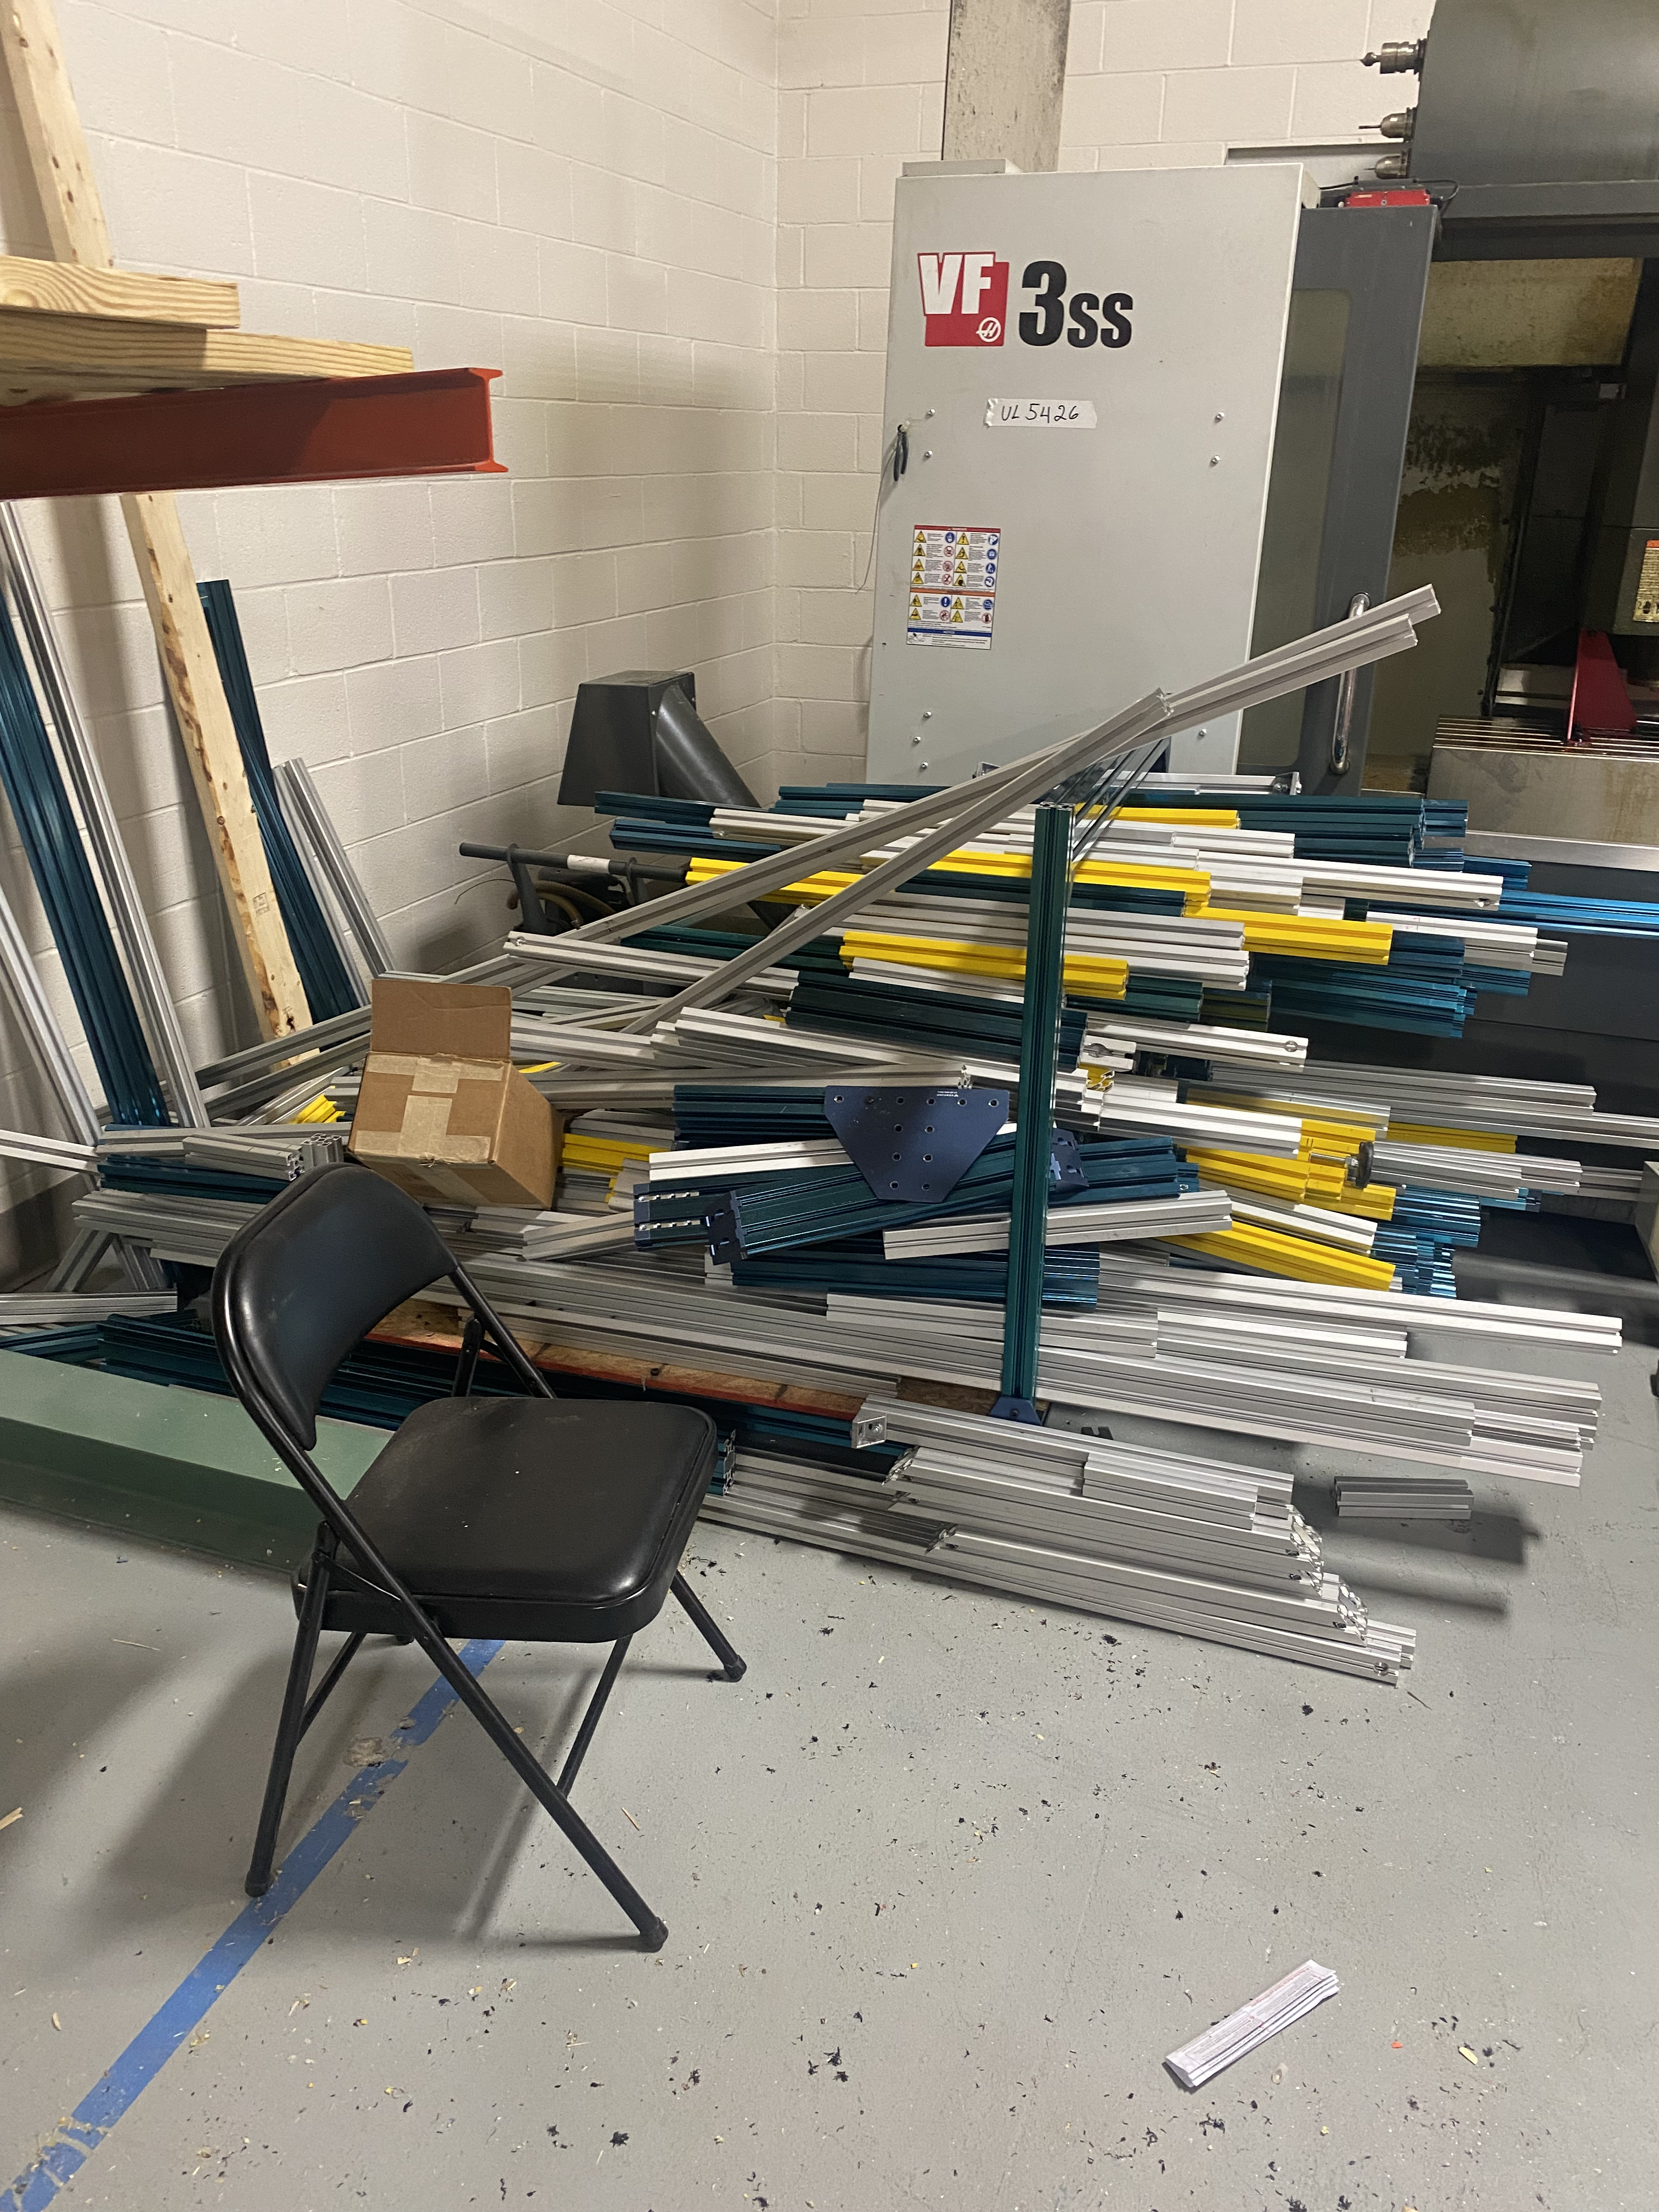
Existing Mess
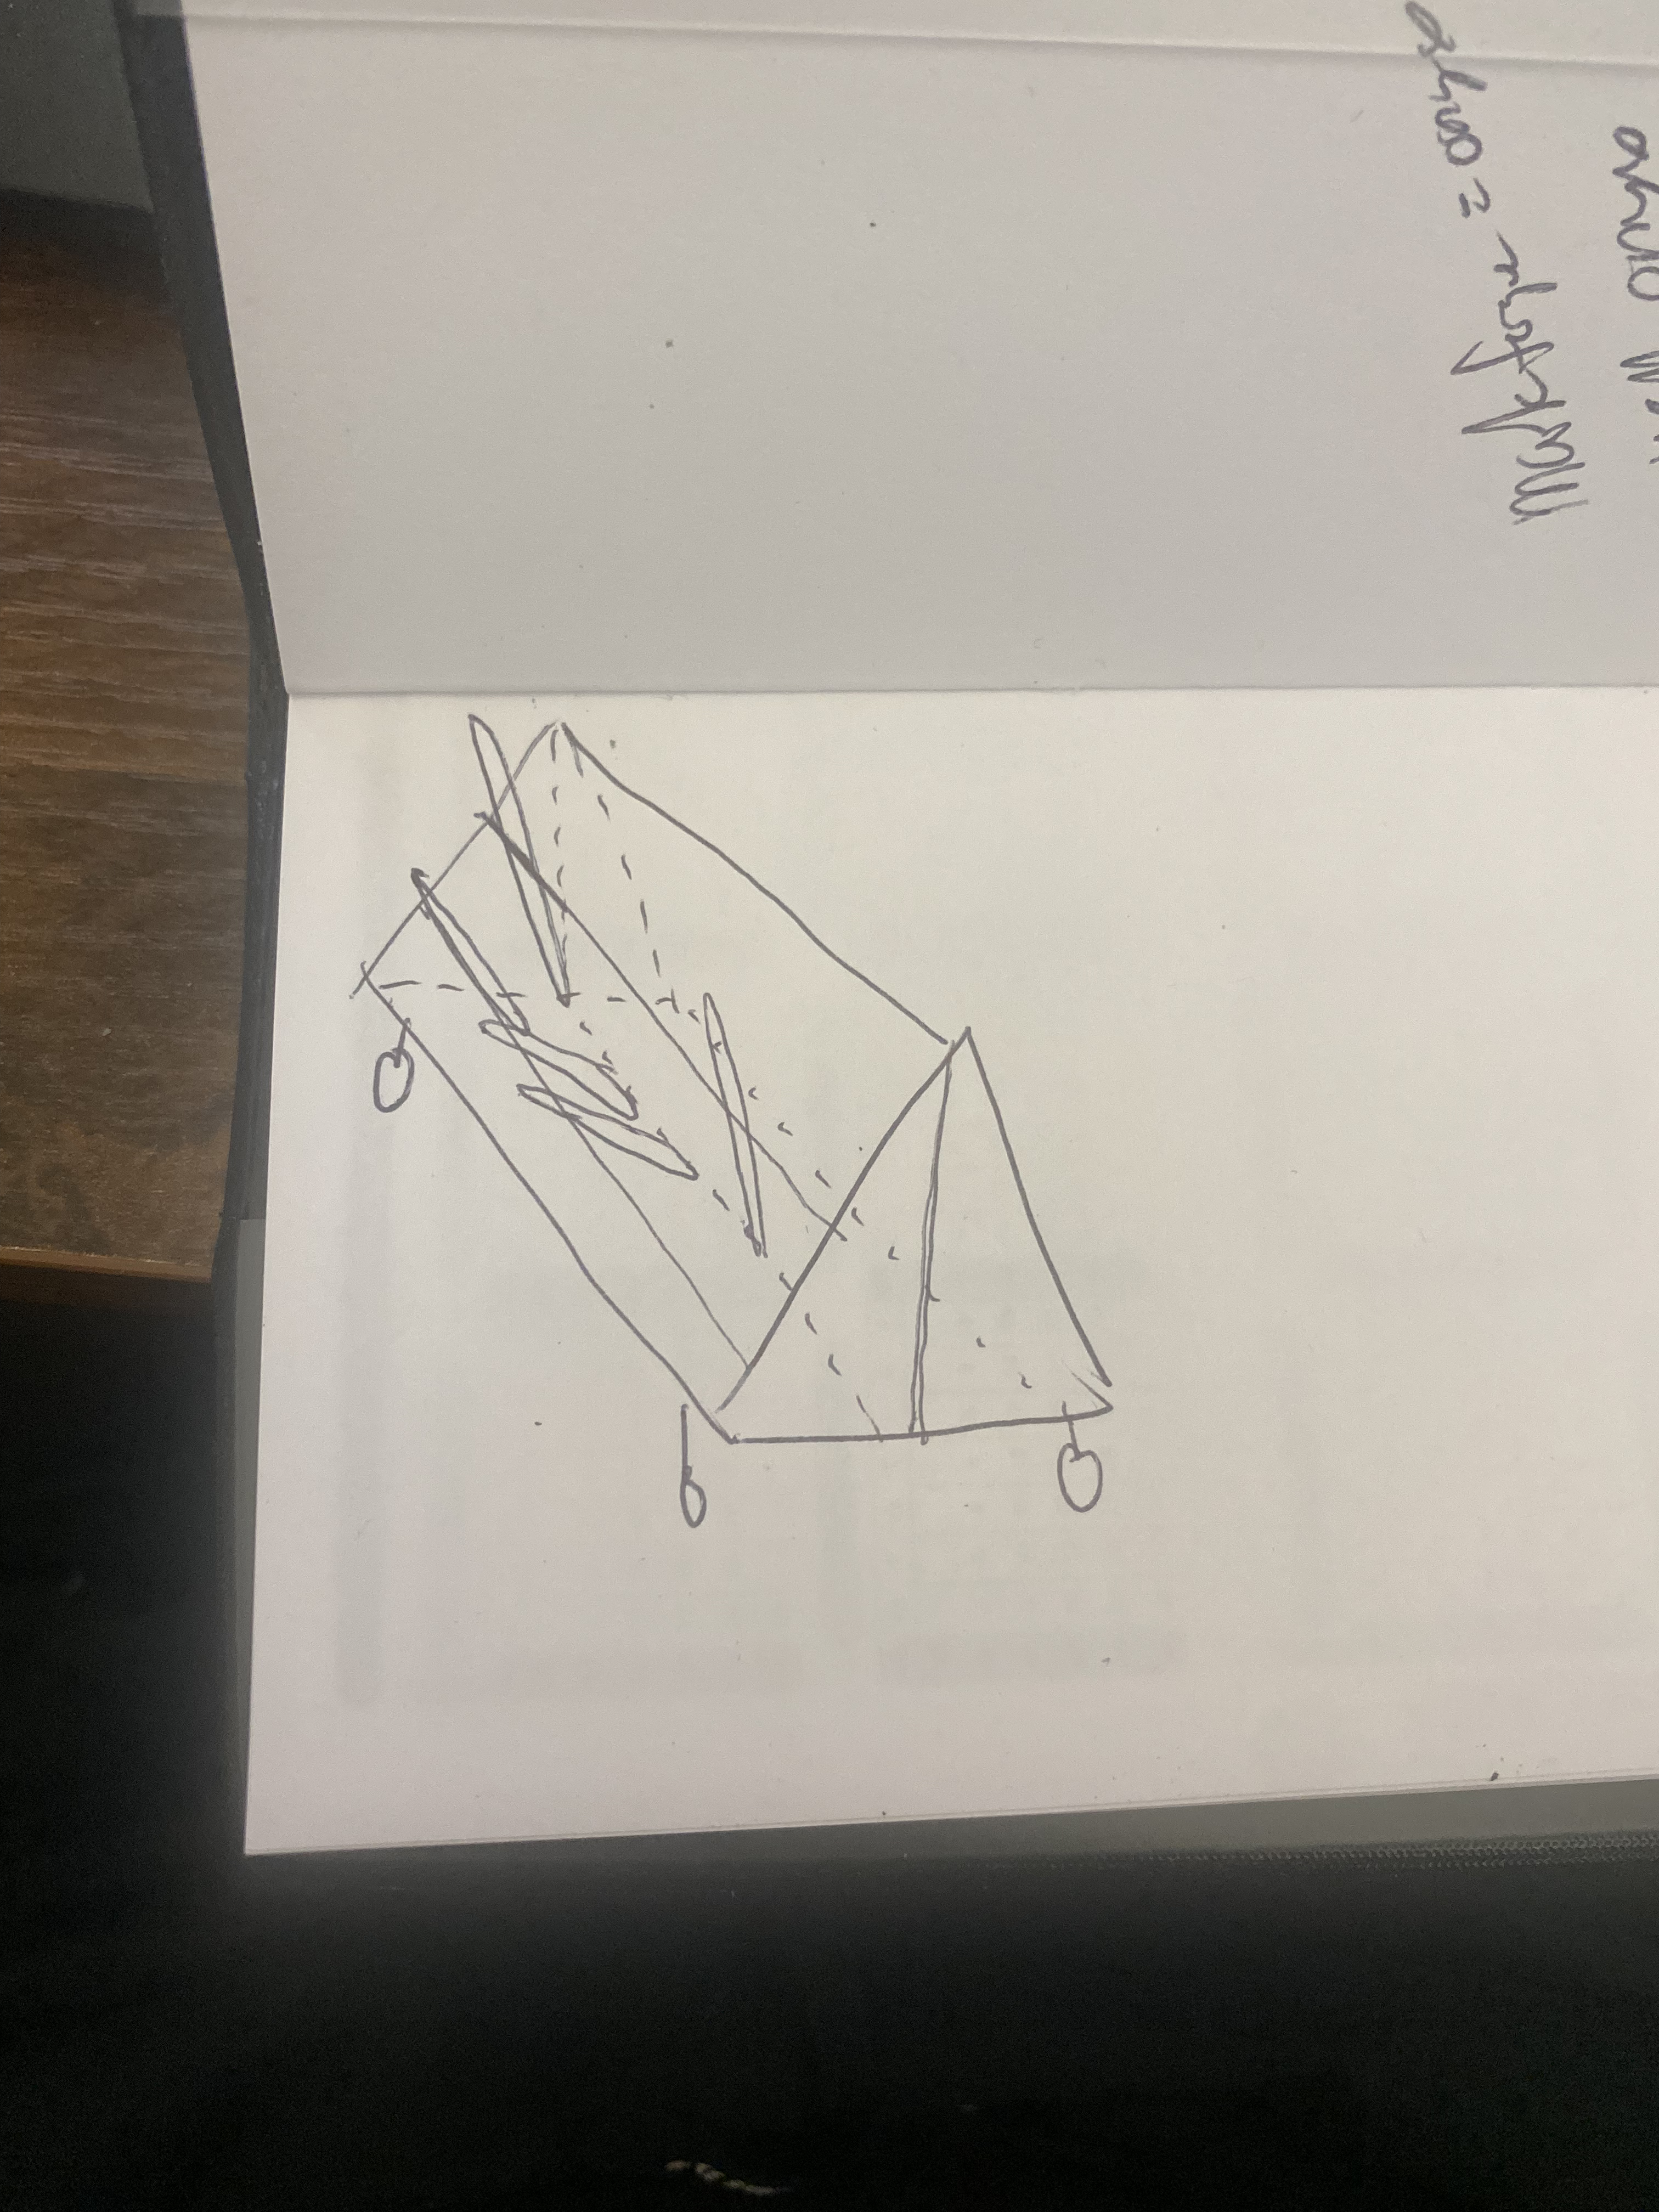
Concept Design
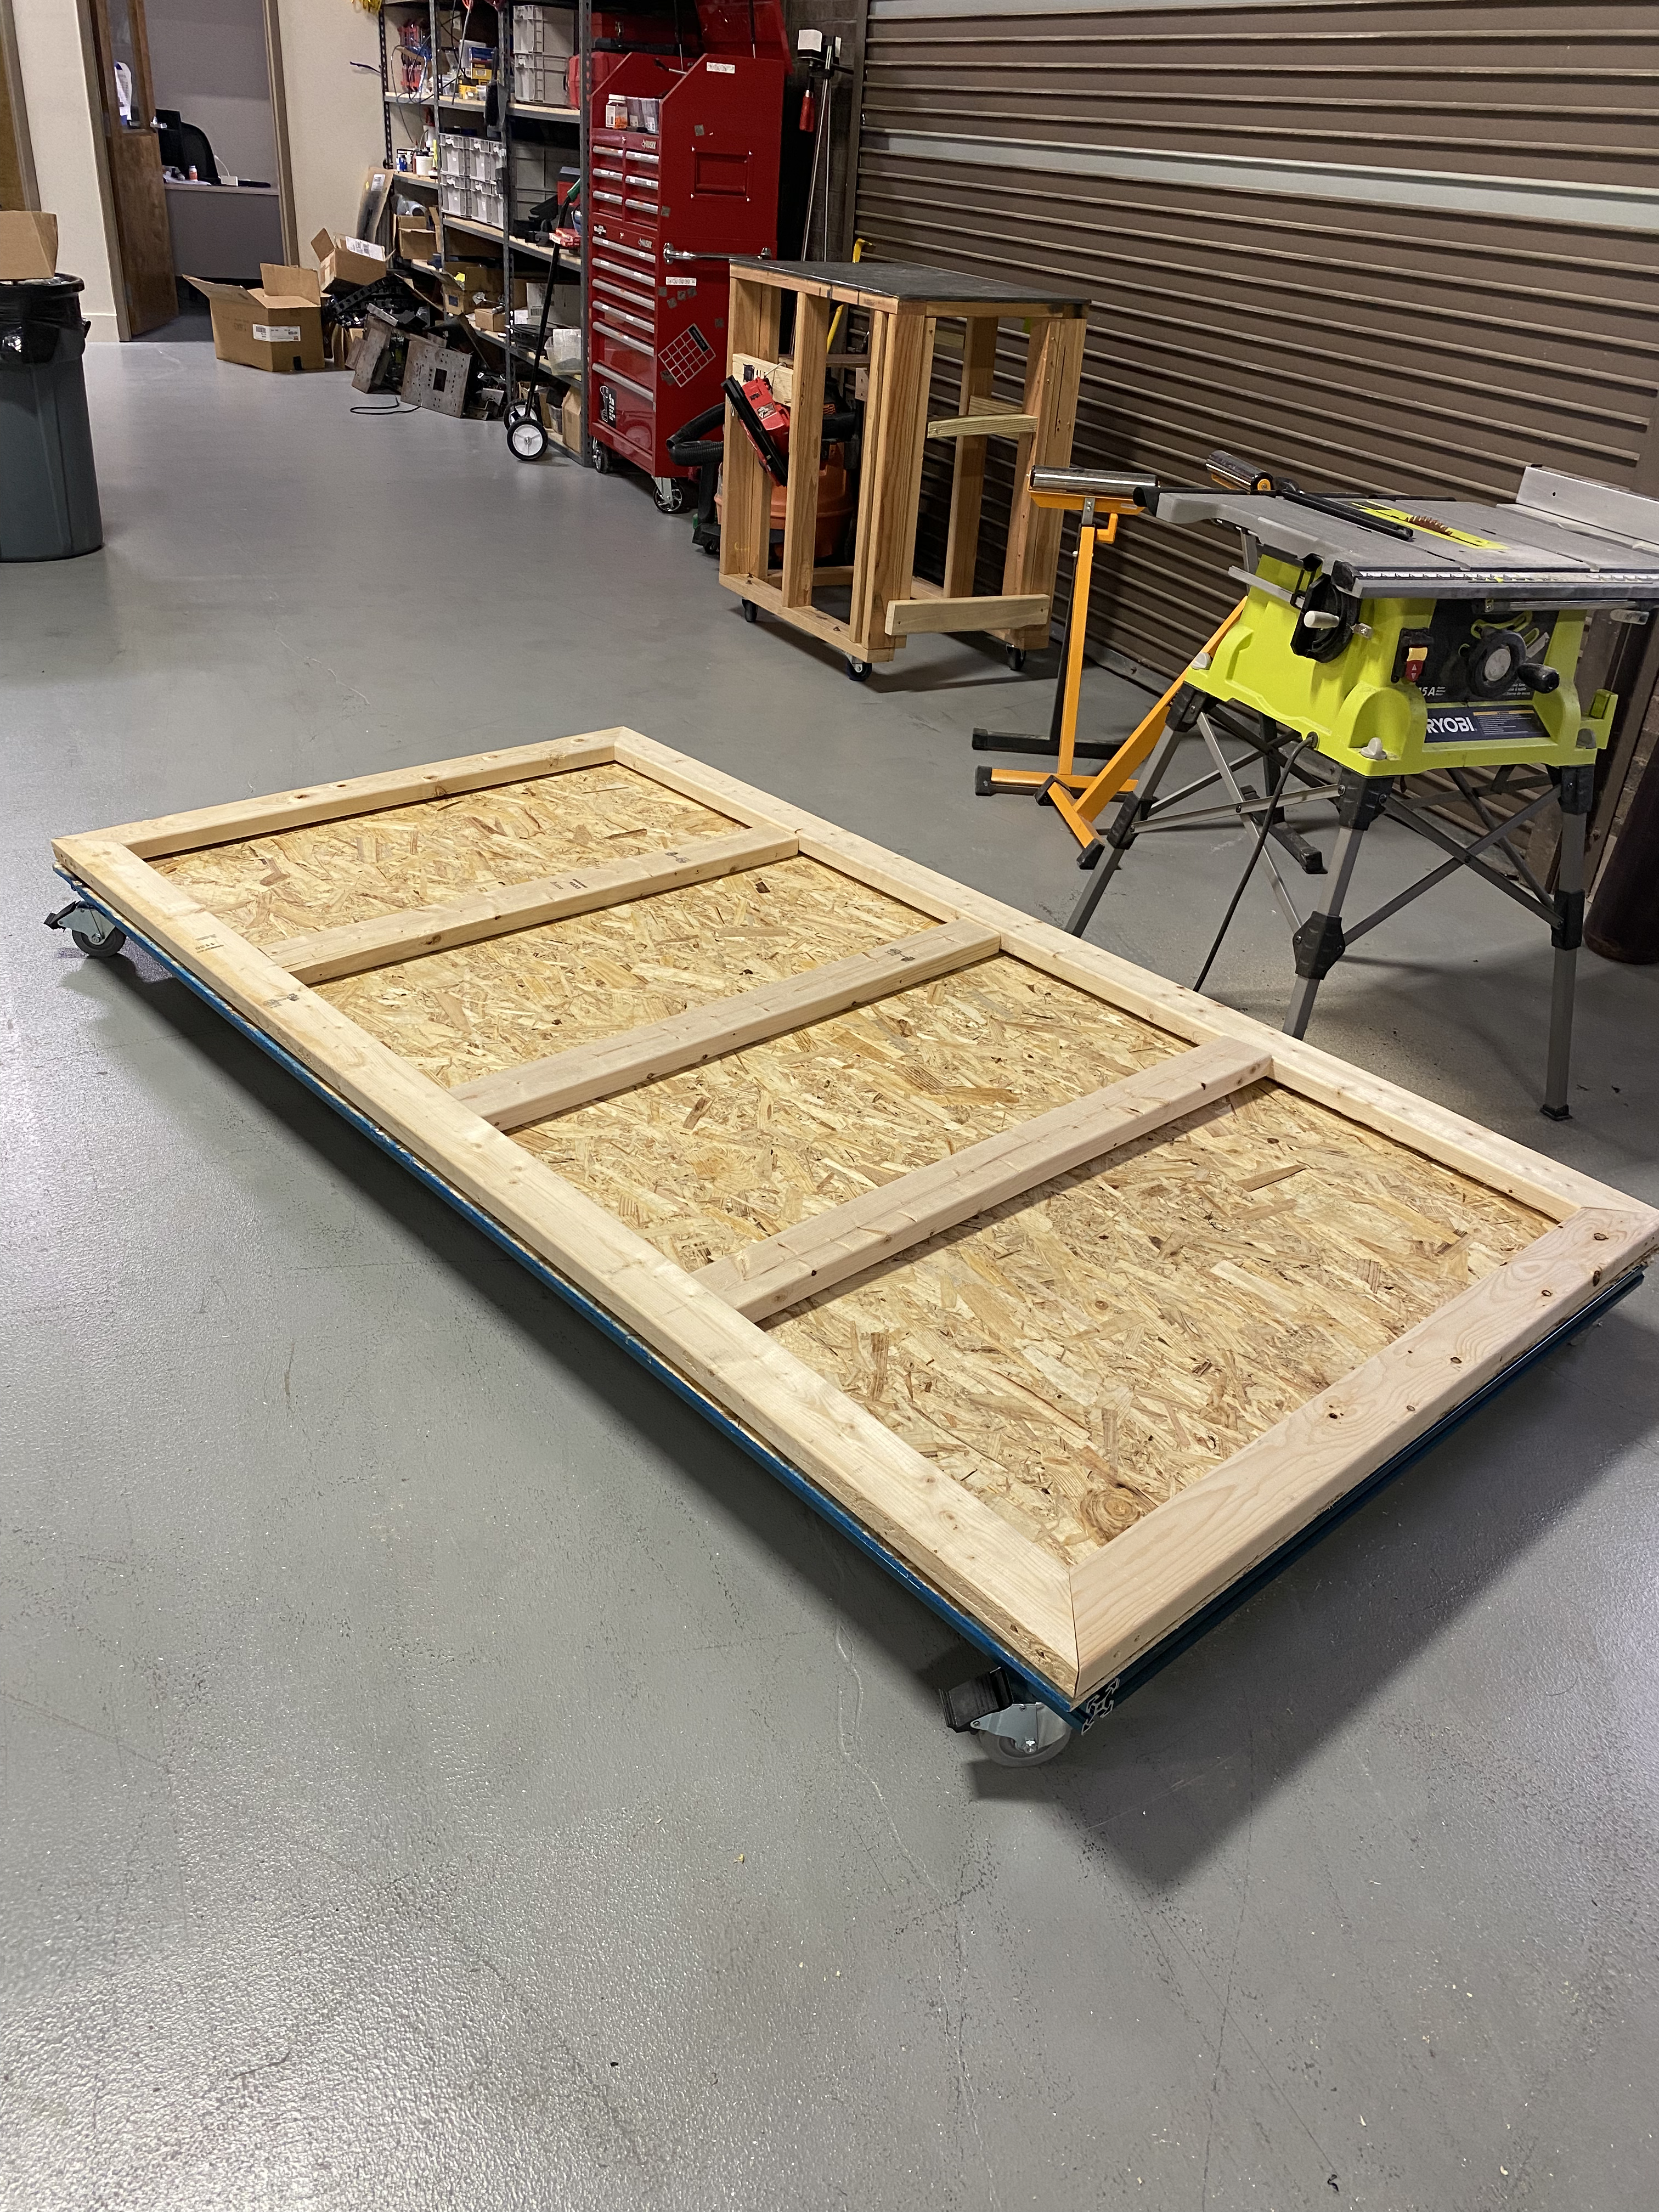
Base
I reused the casters.

Began Framing
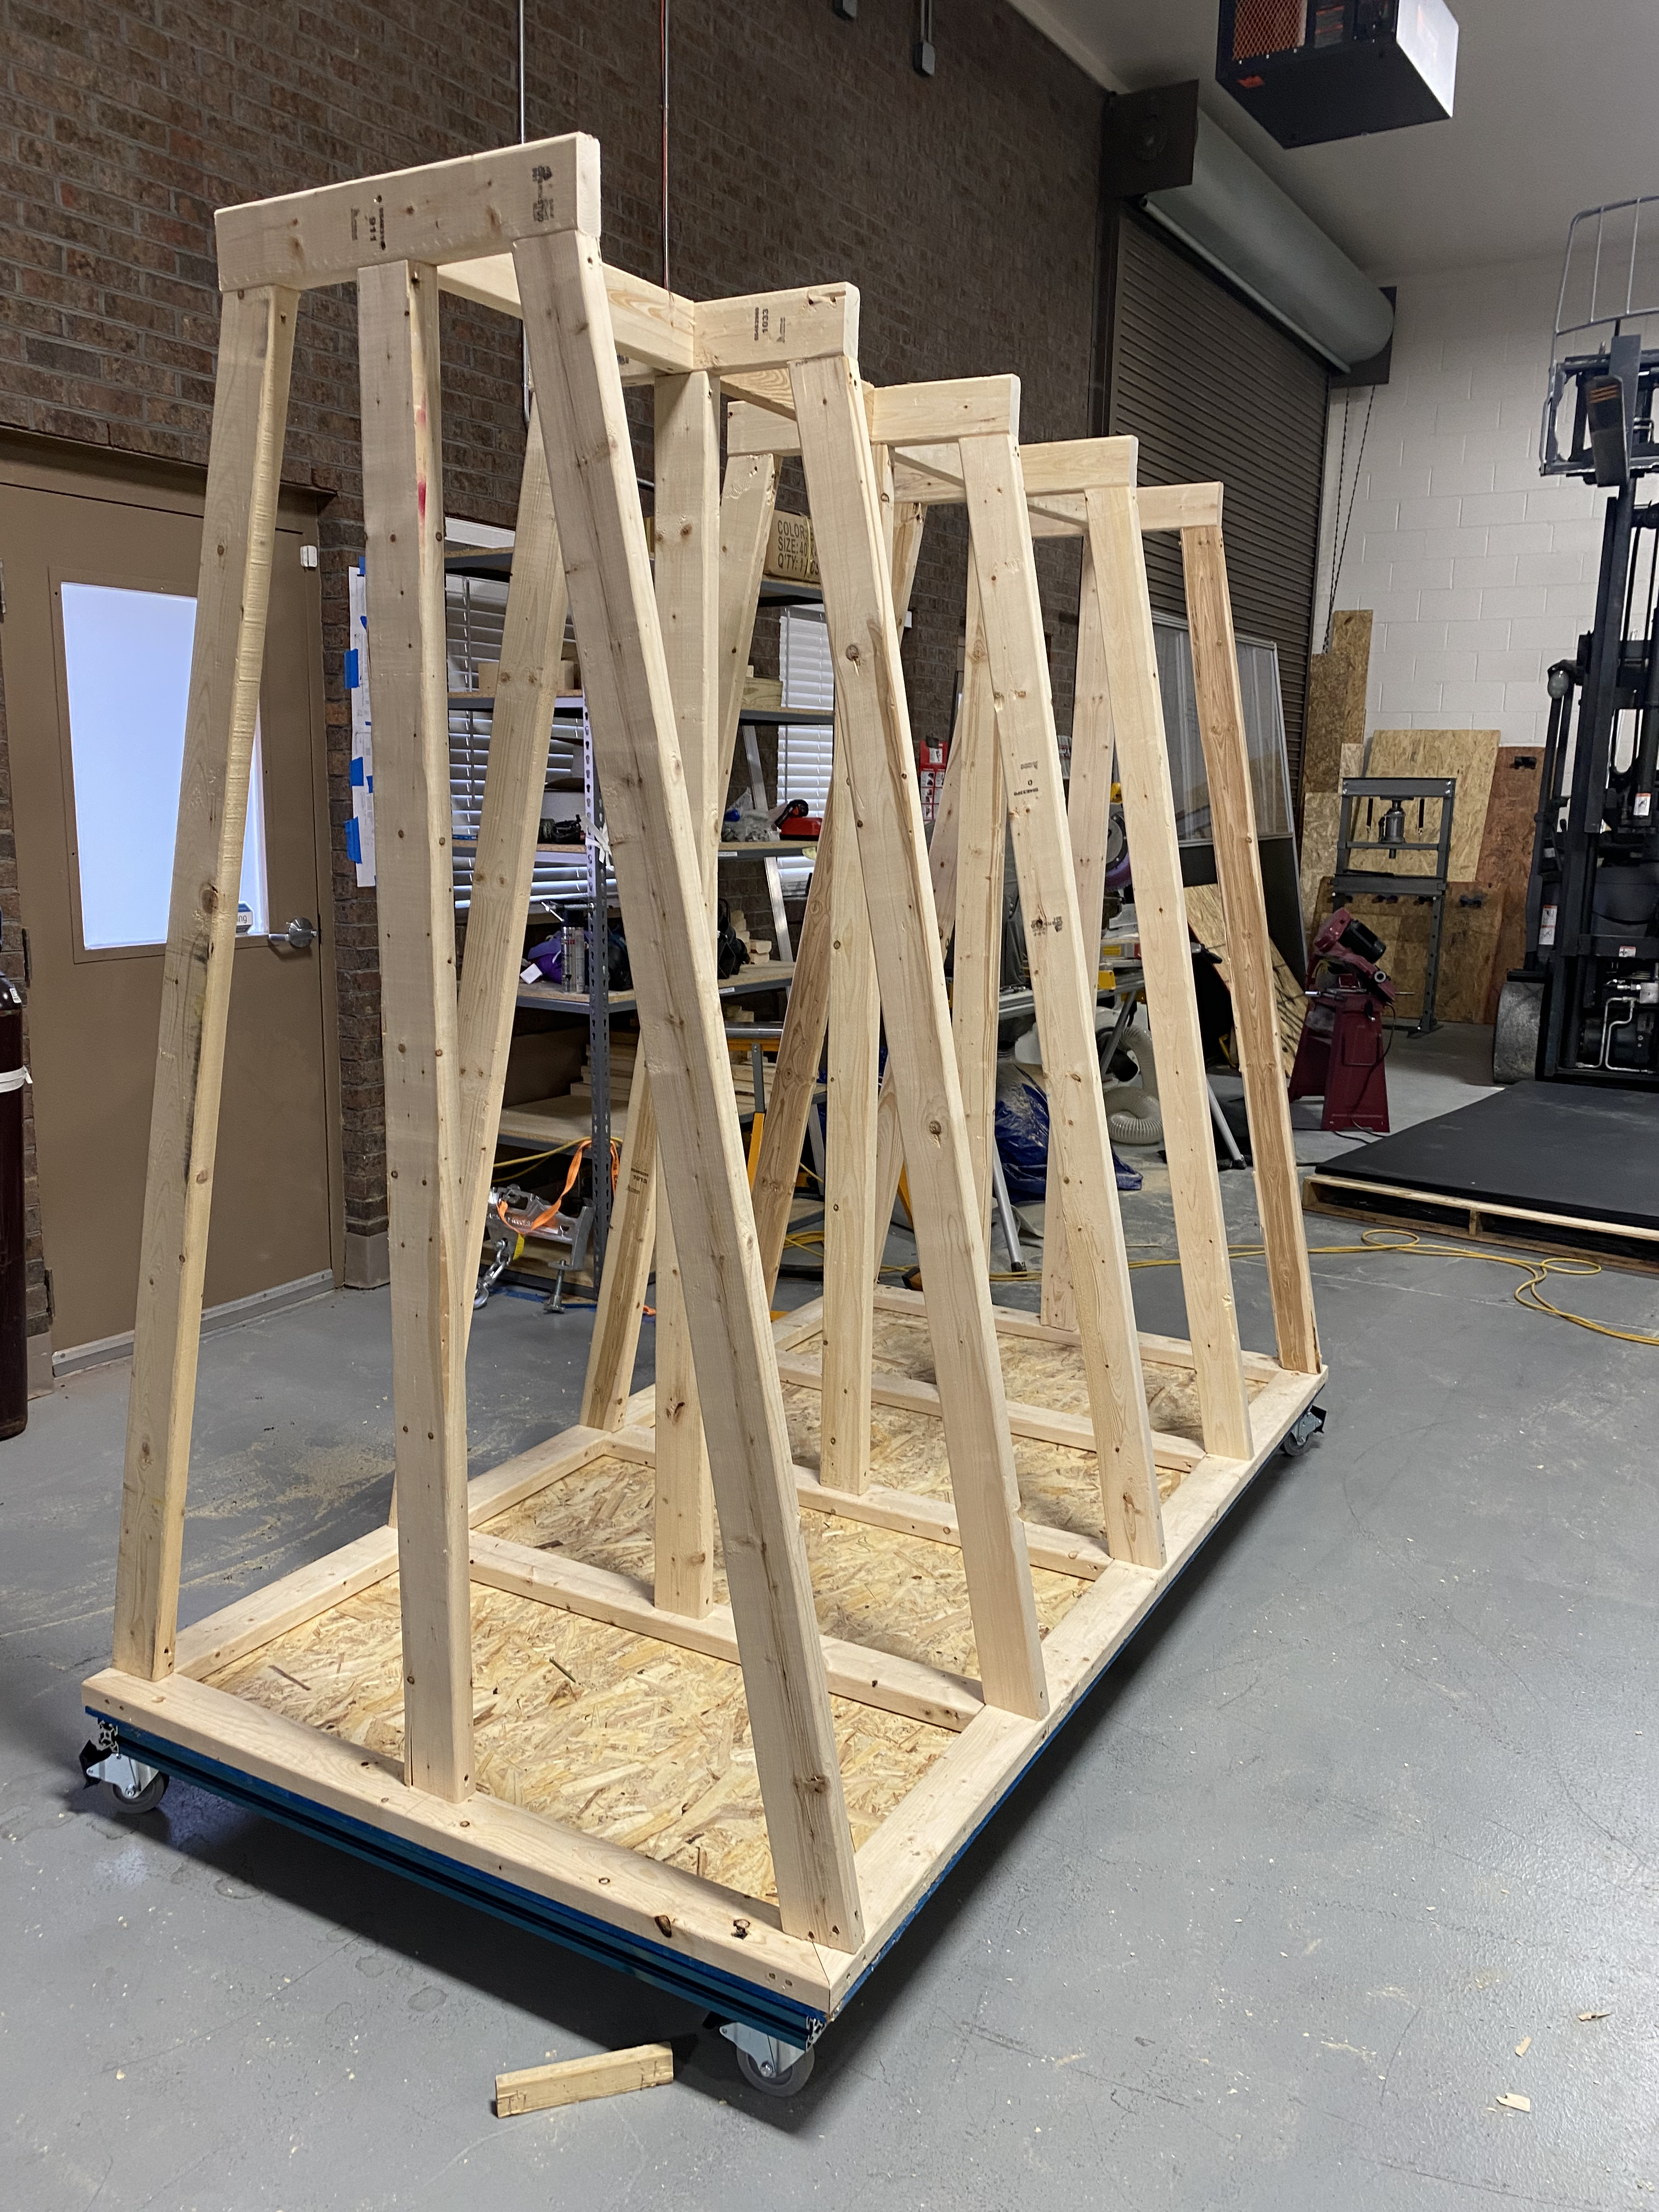
Finished Framing
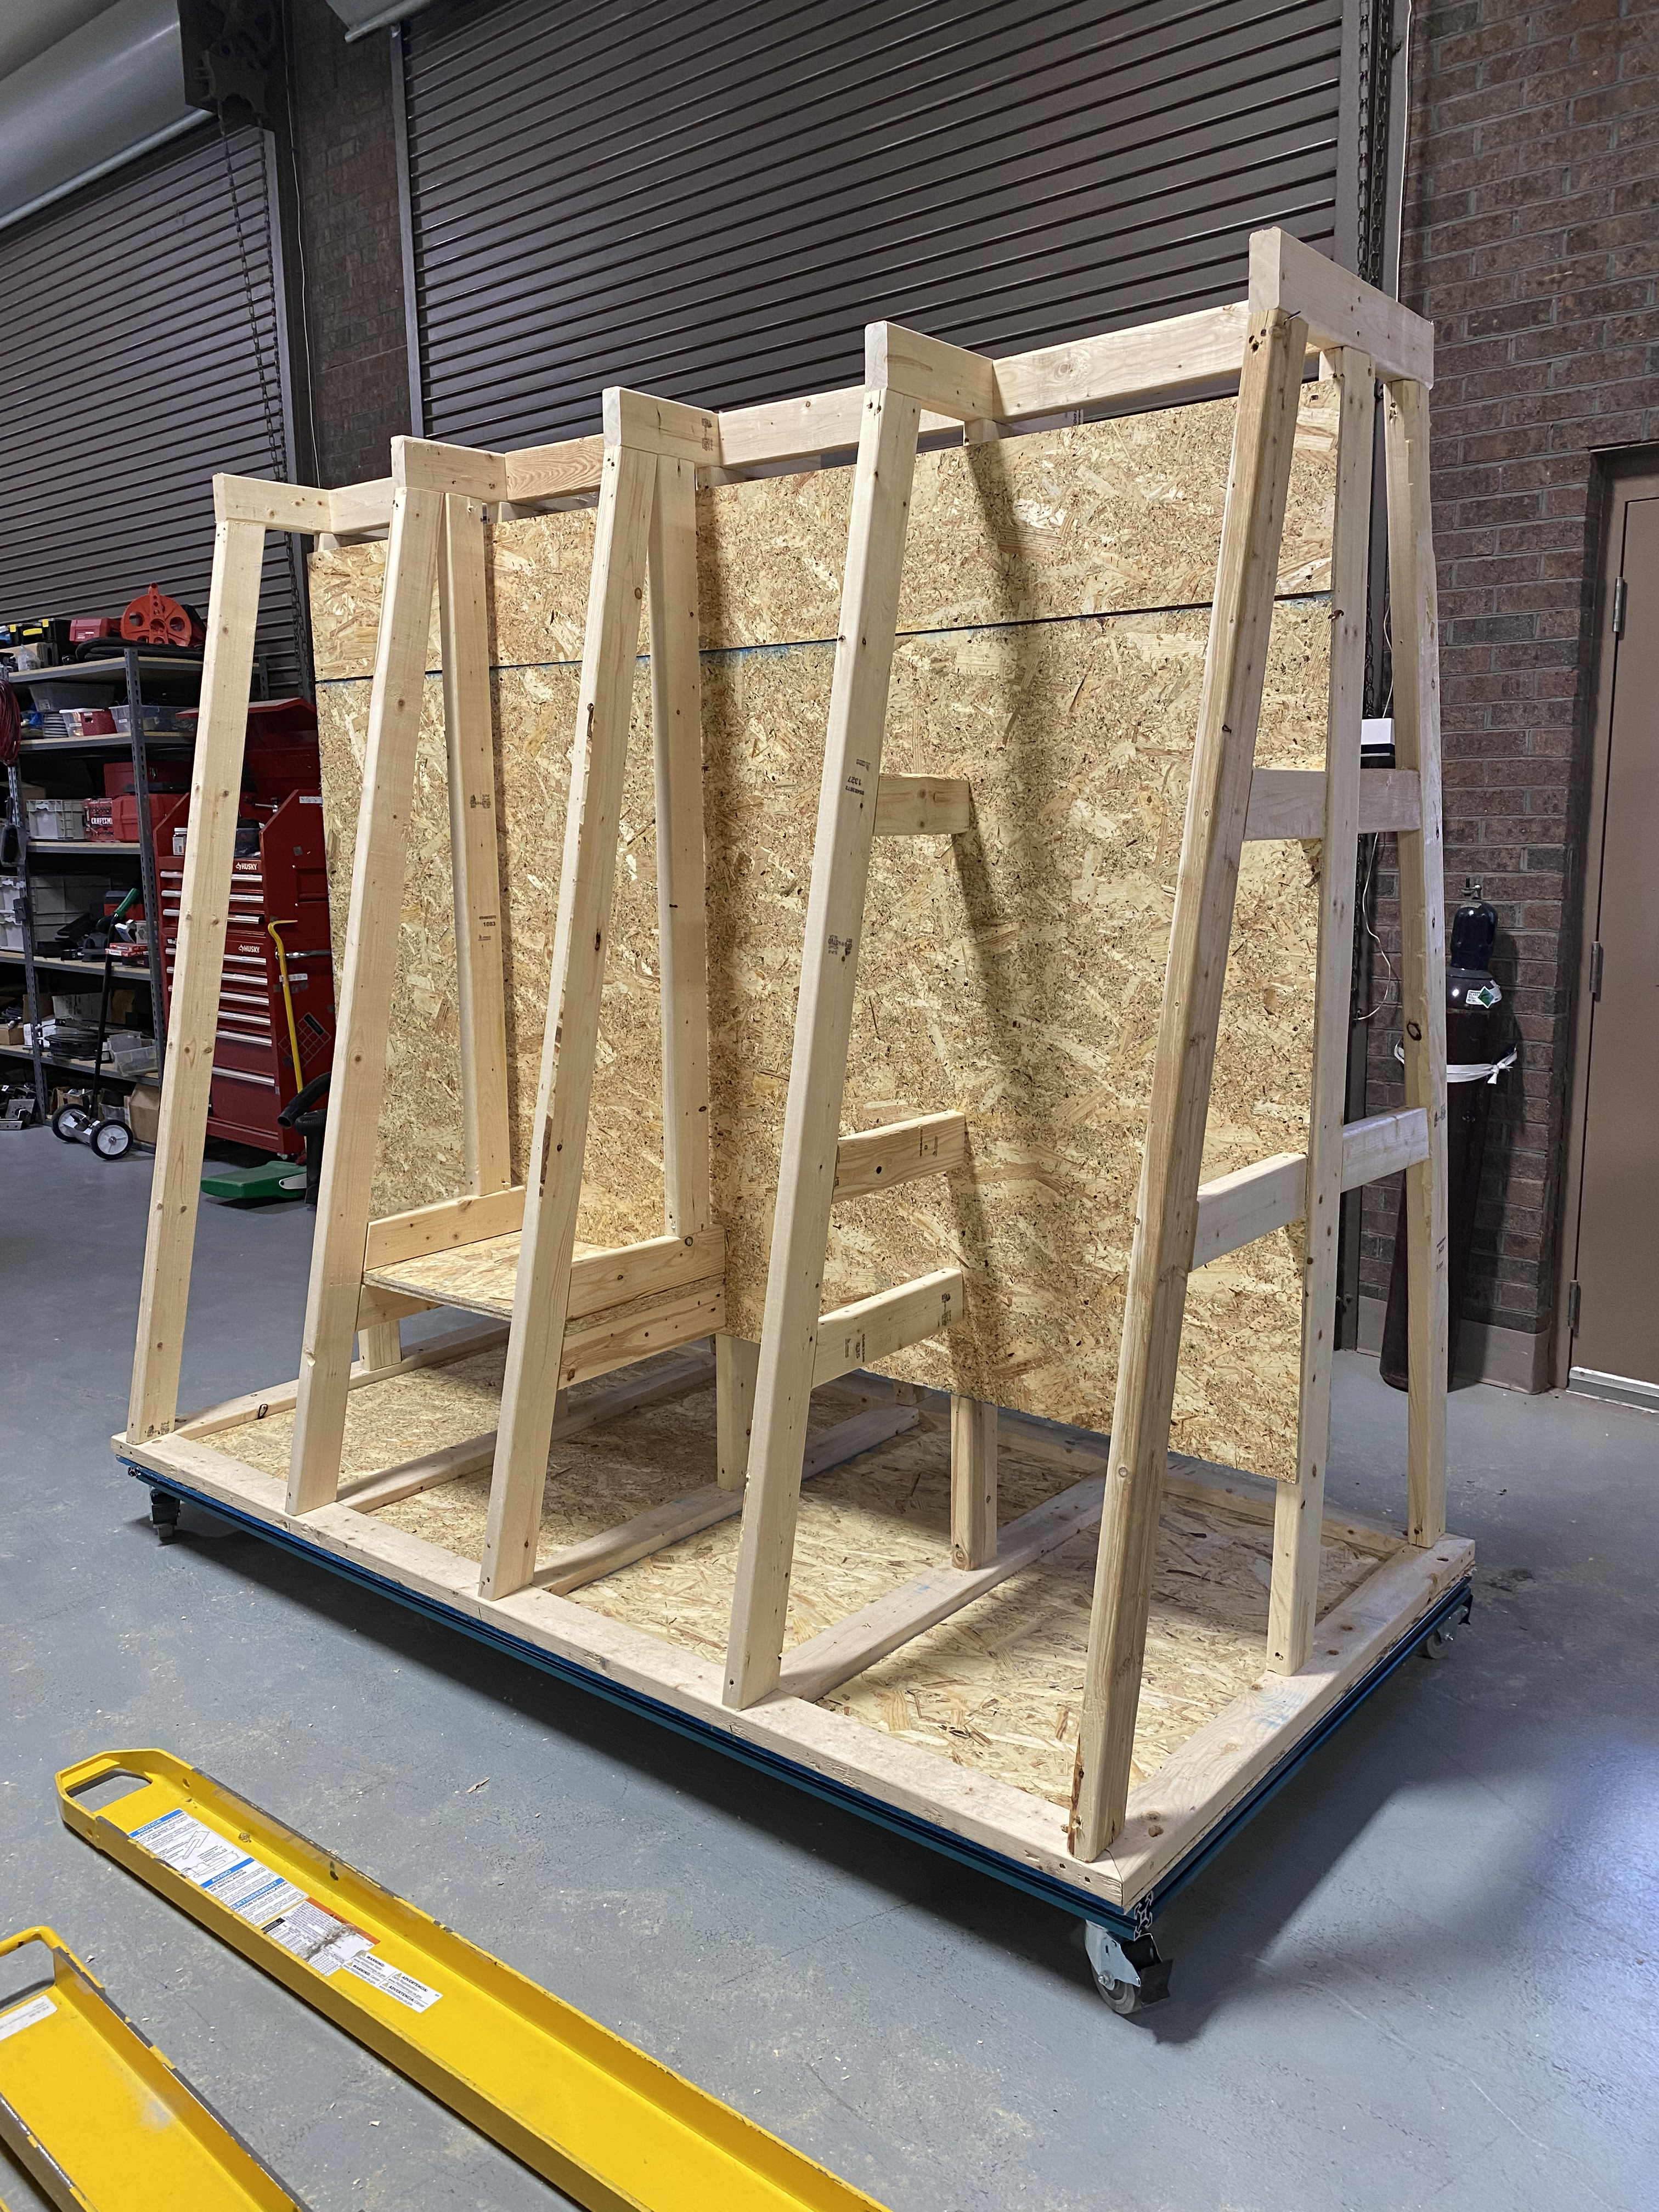
Added Shelf and Divider
Final Product 1
Includes safety chains